


Customize Your Skinz
Customize Your Skinz
Couldn't load pickup availability
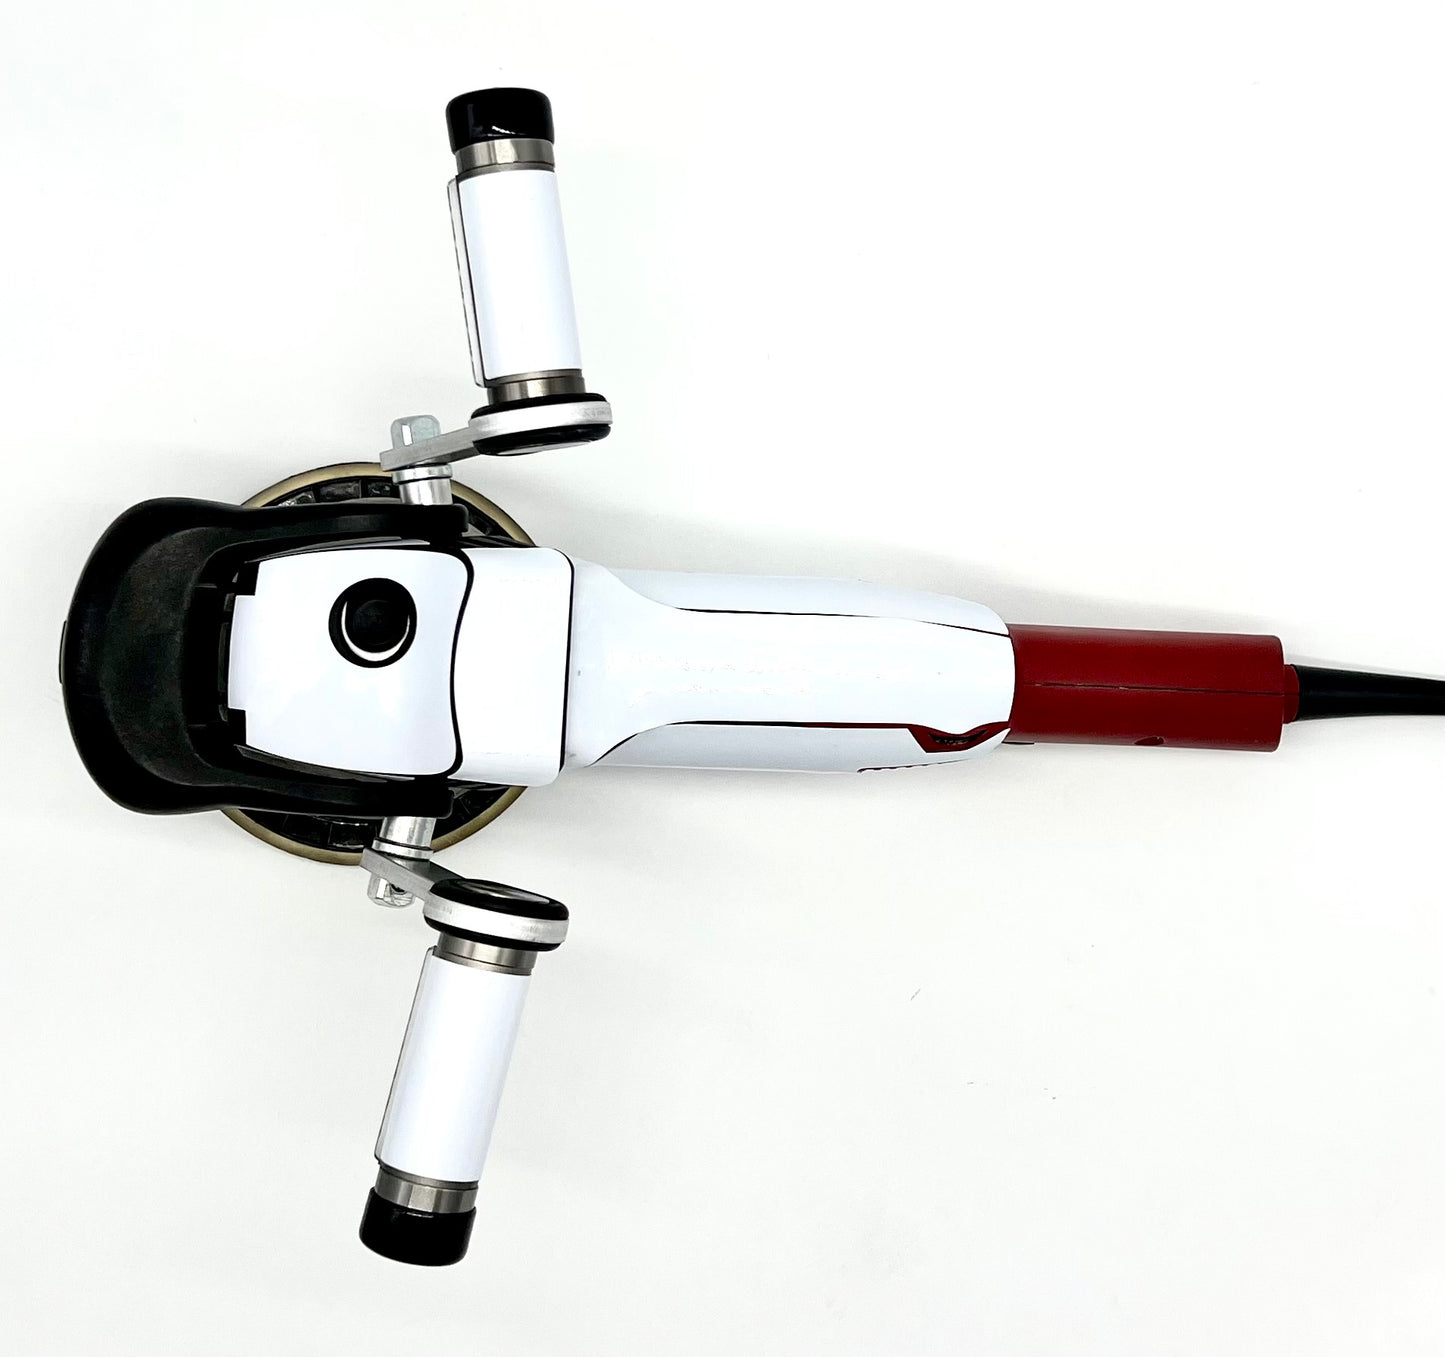
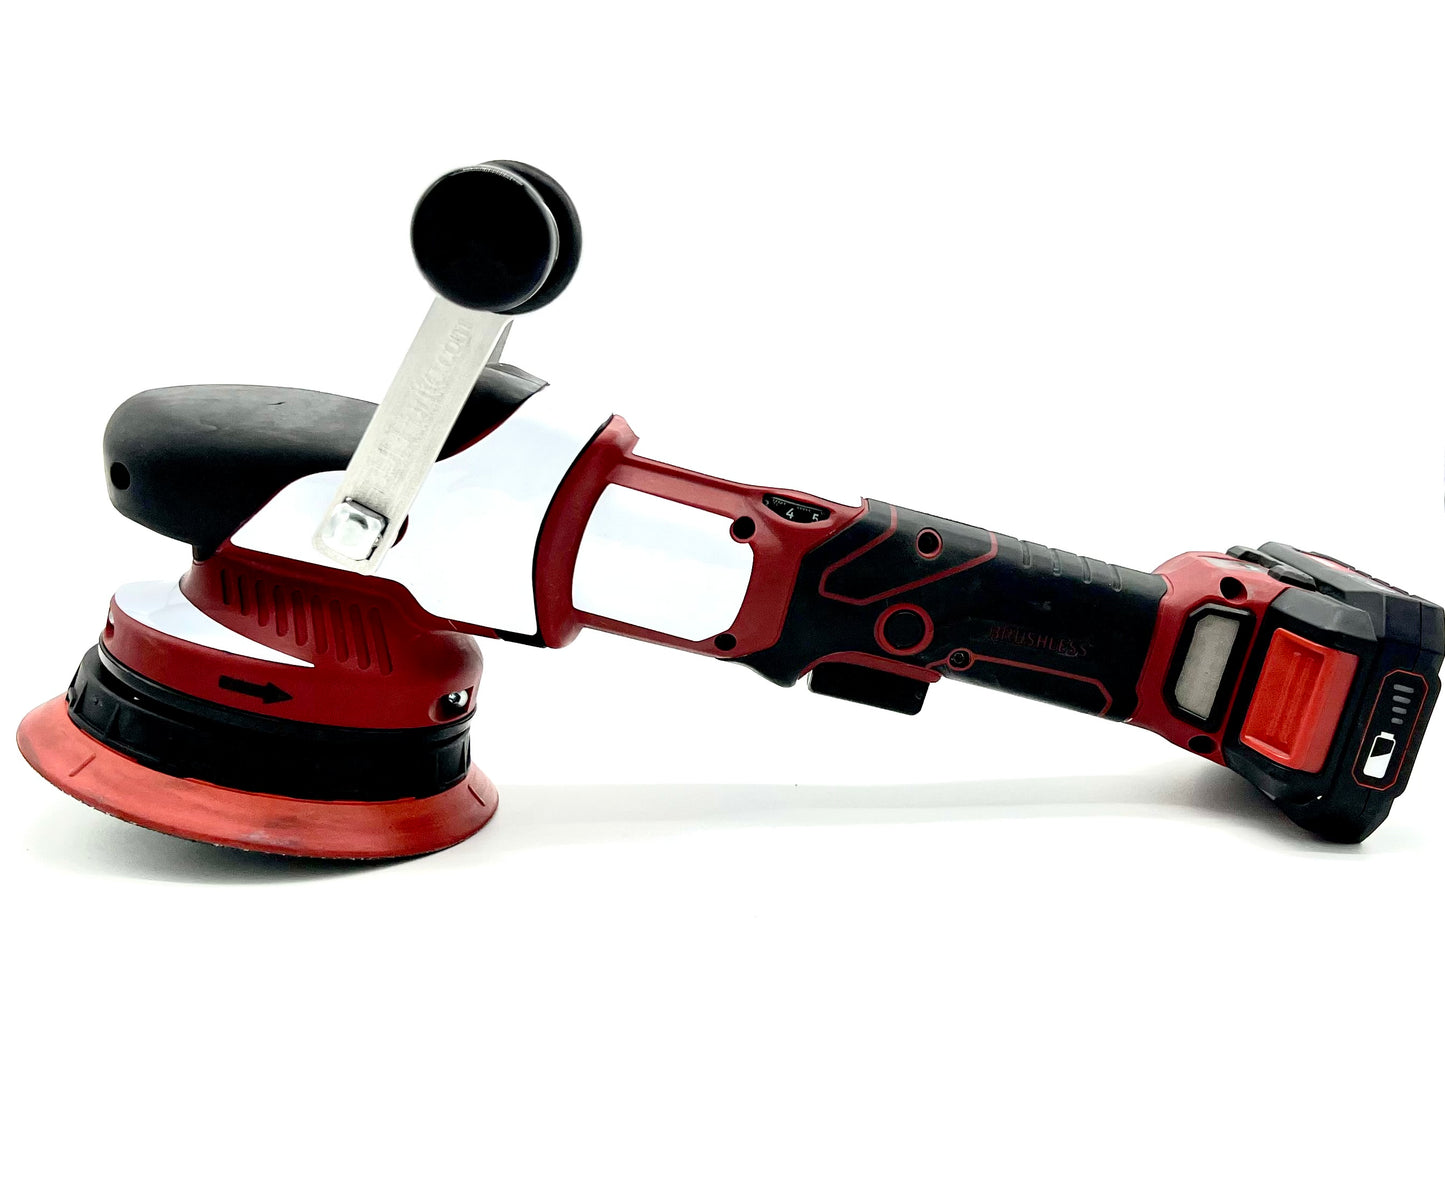
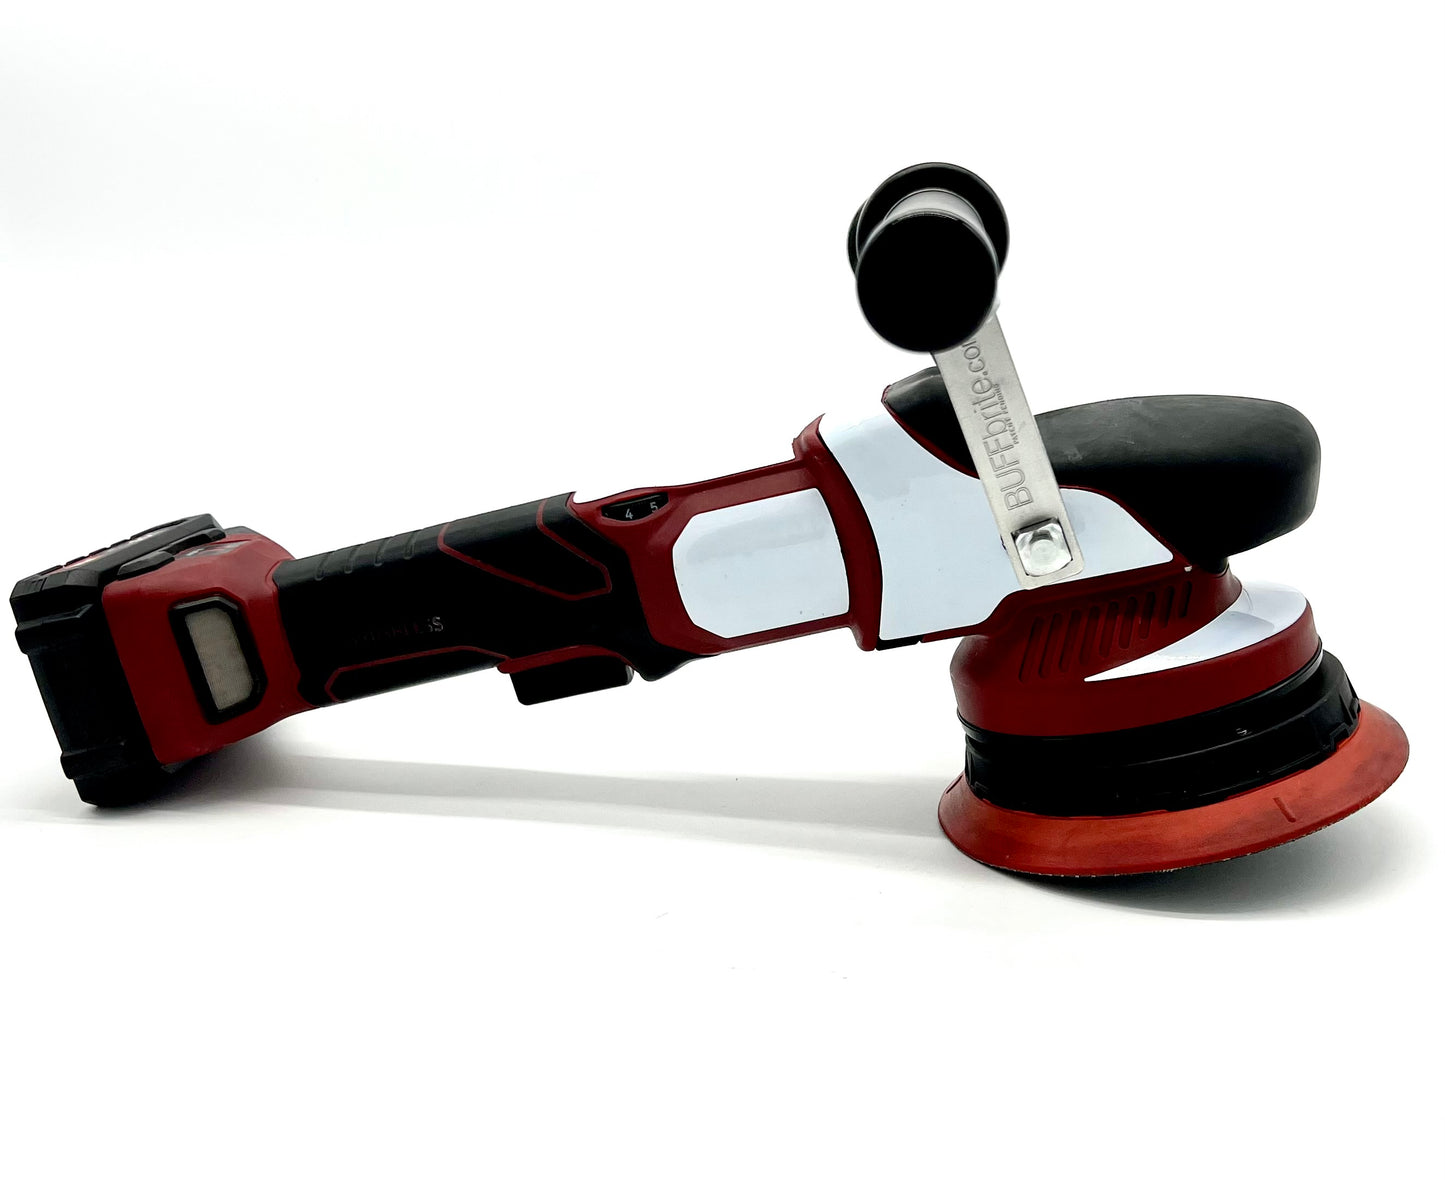
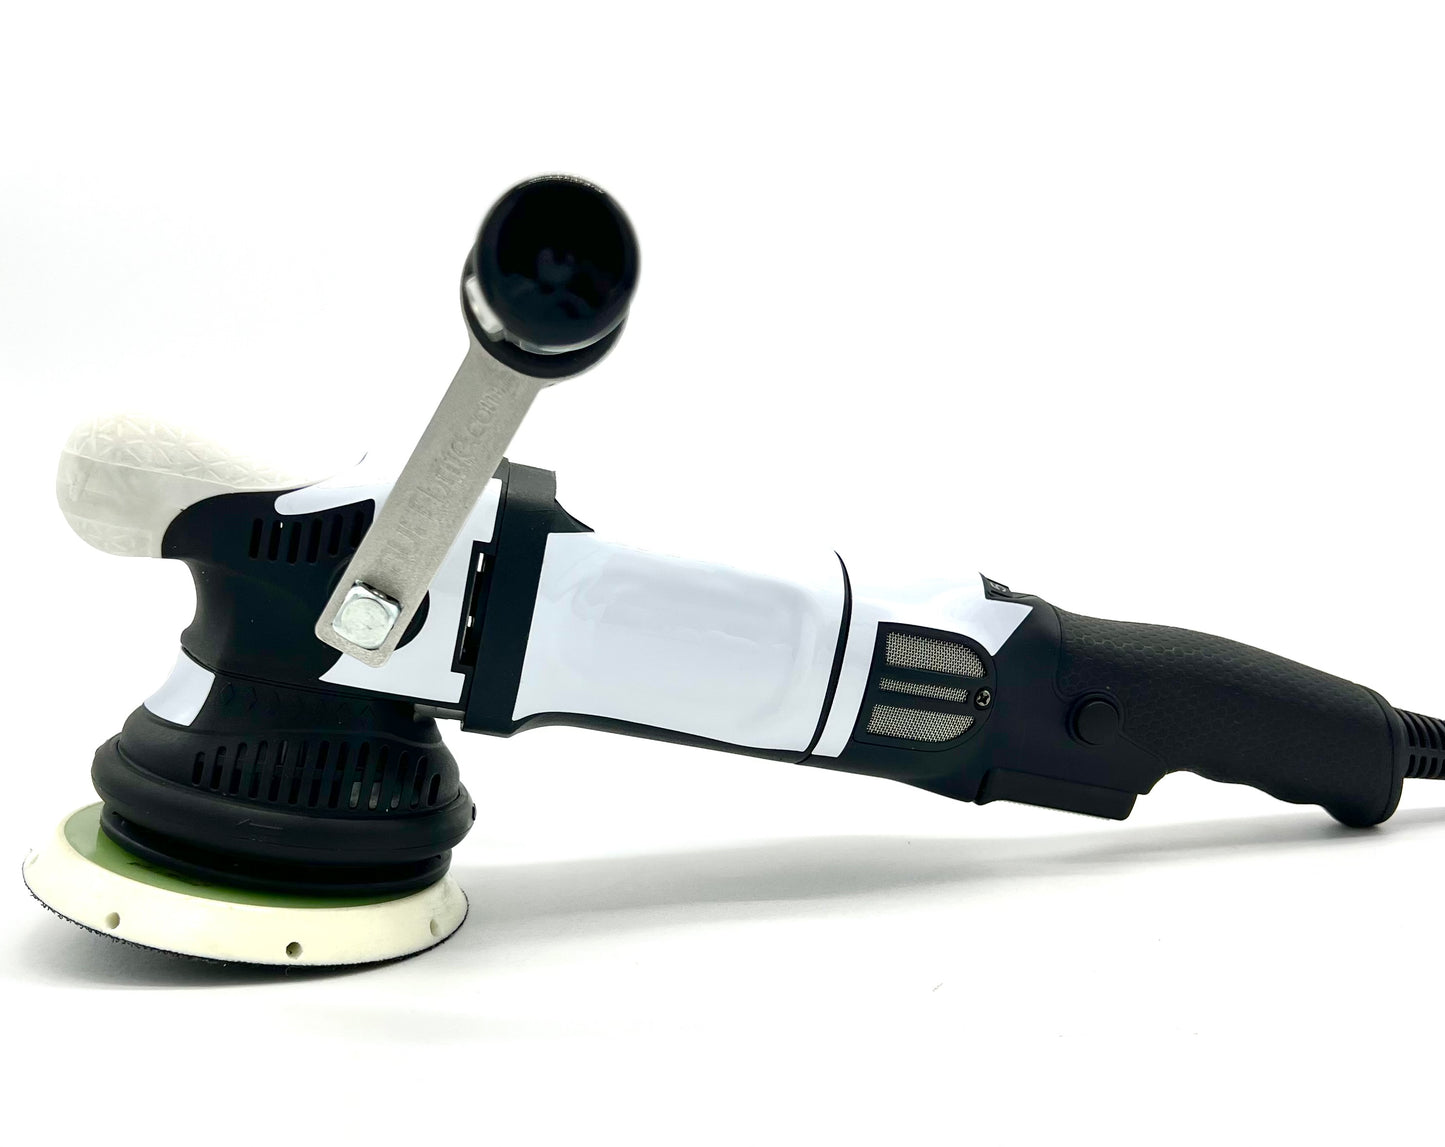
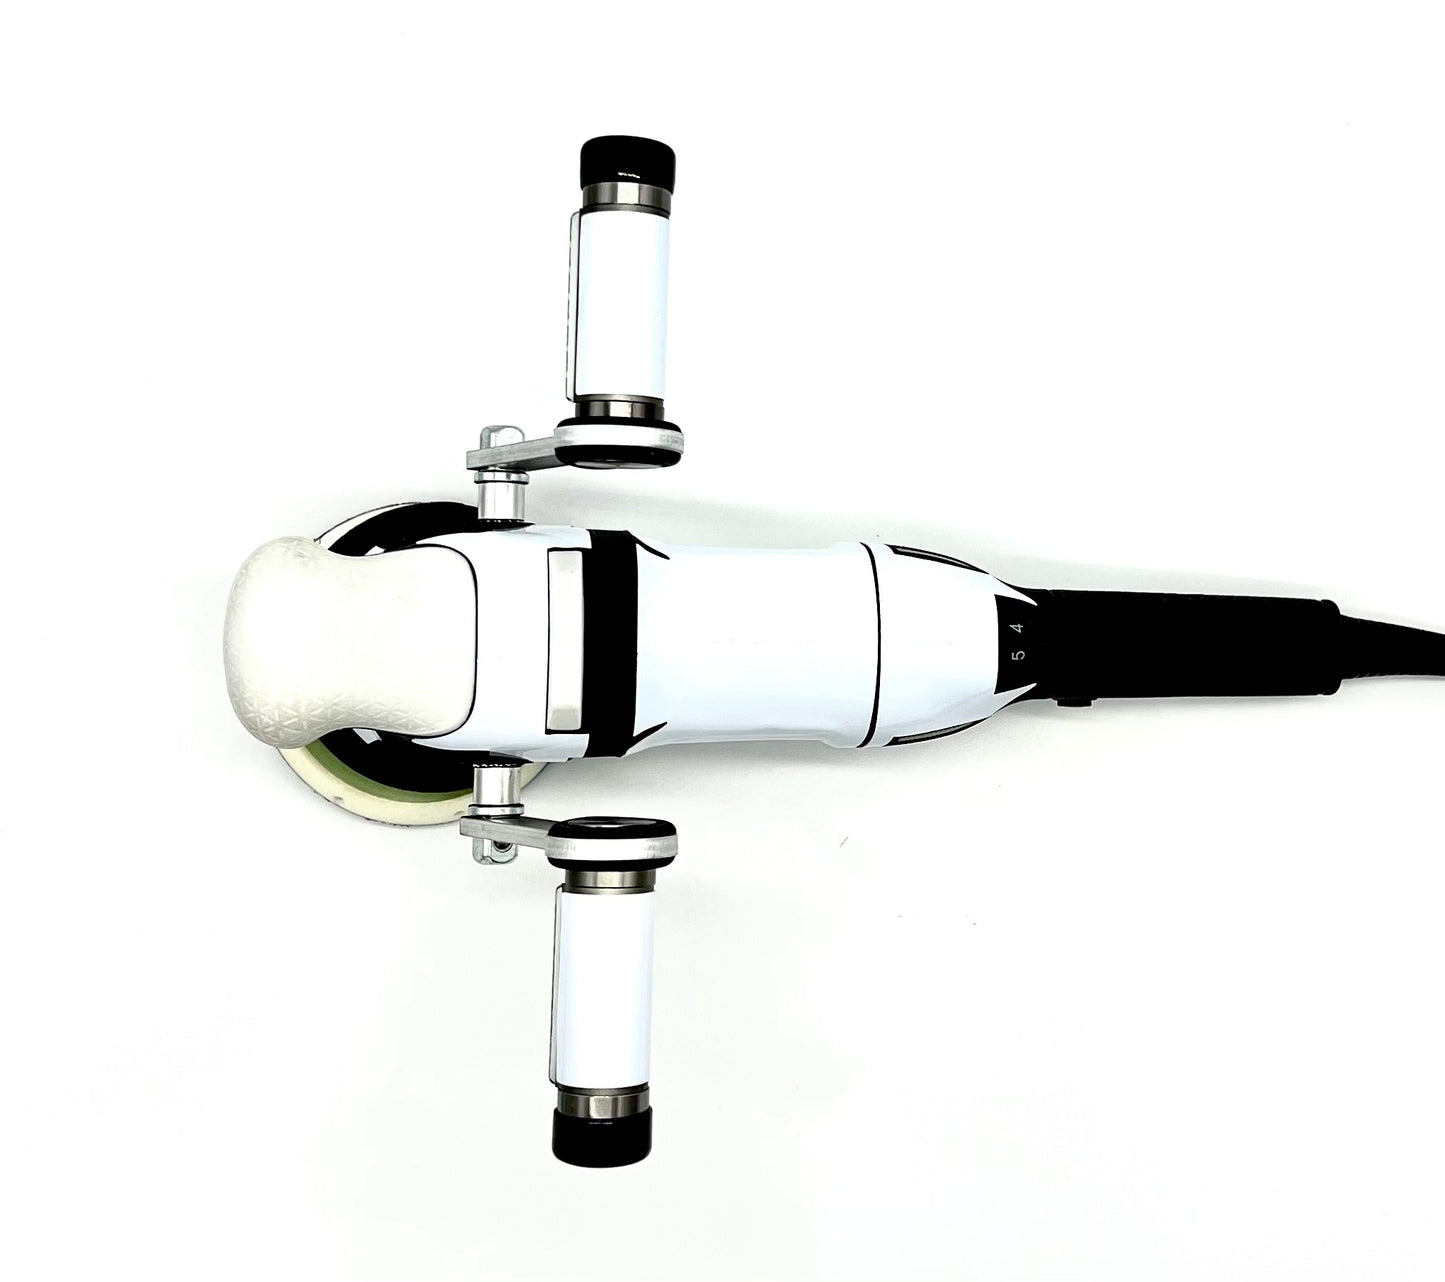
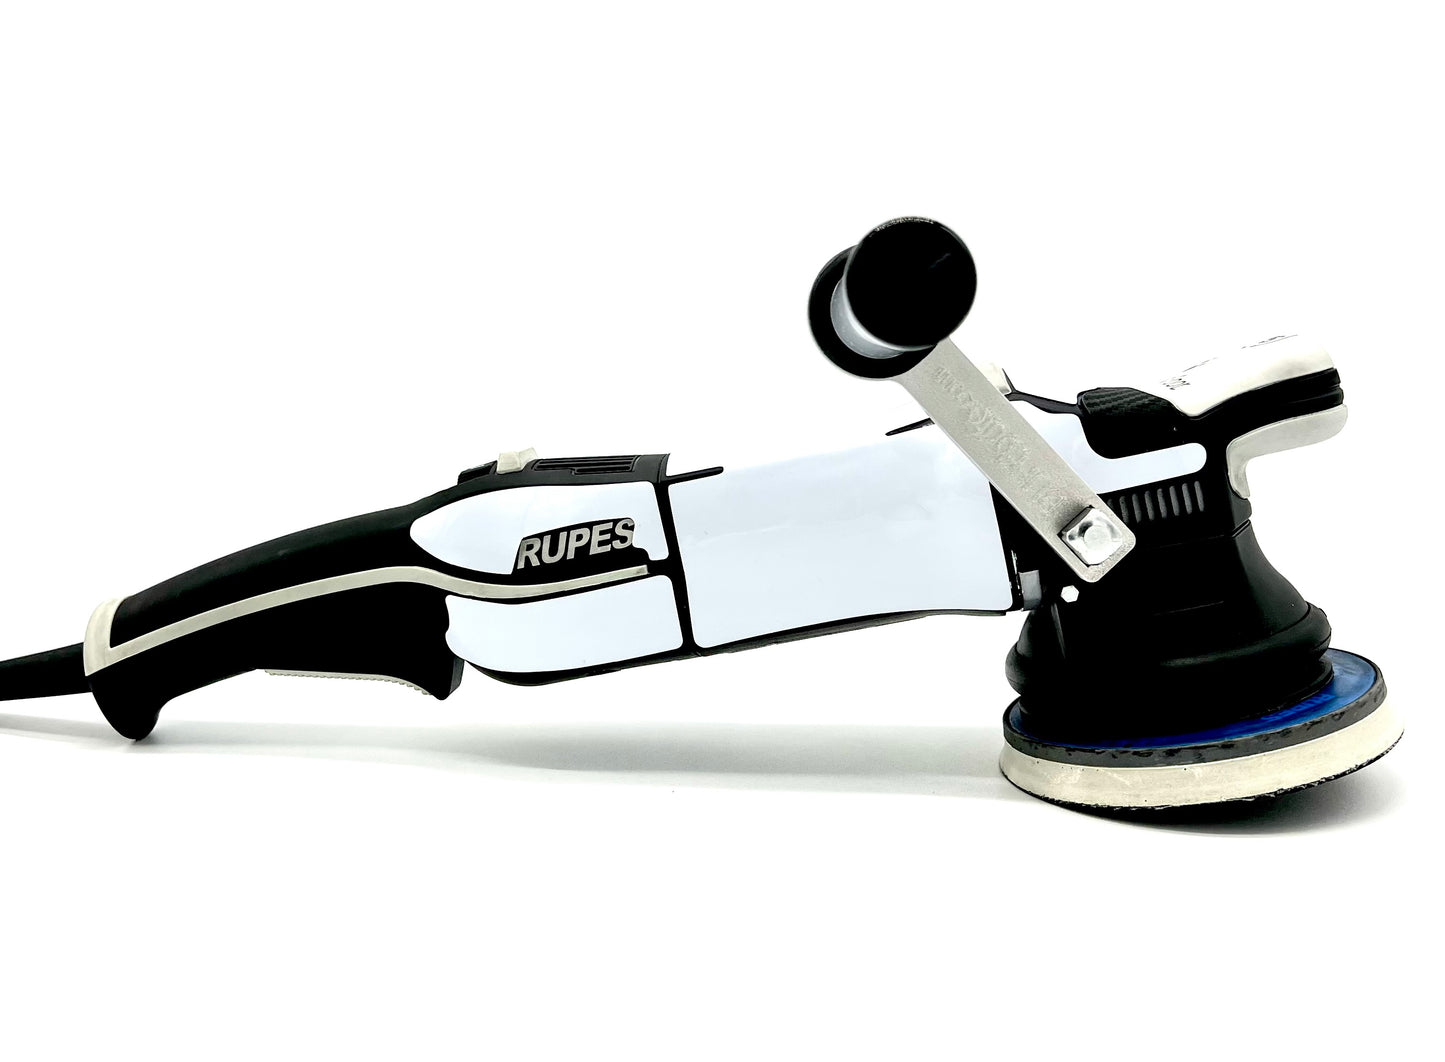
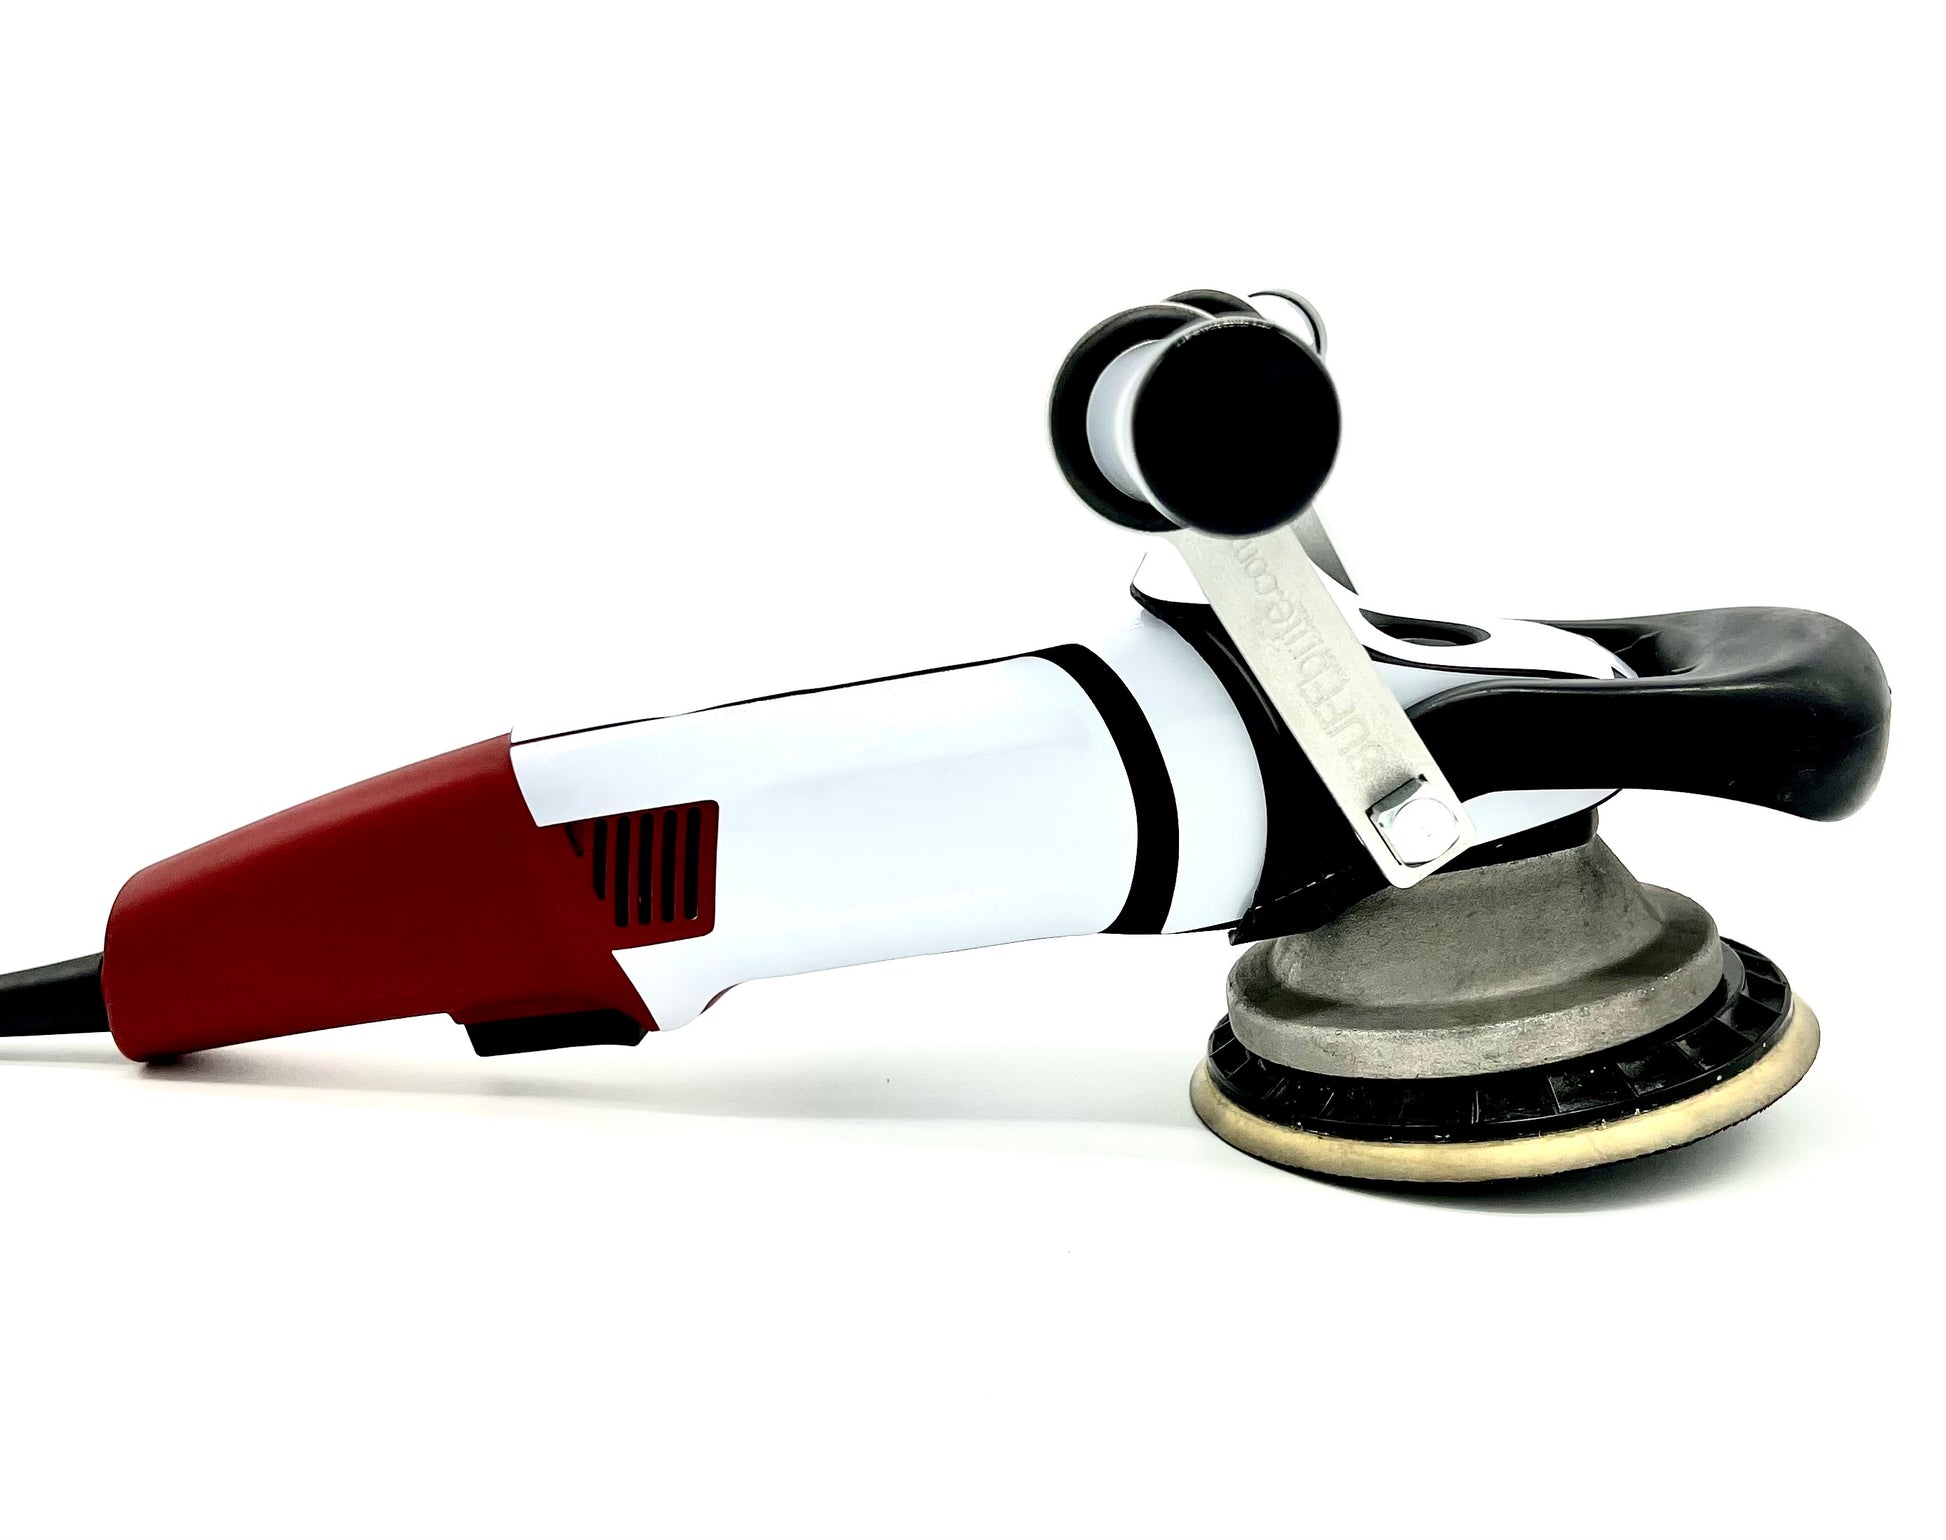
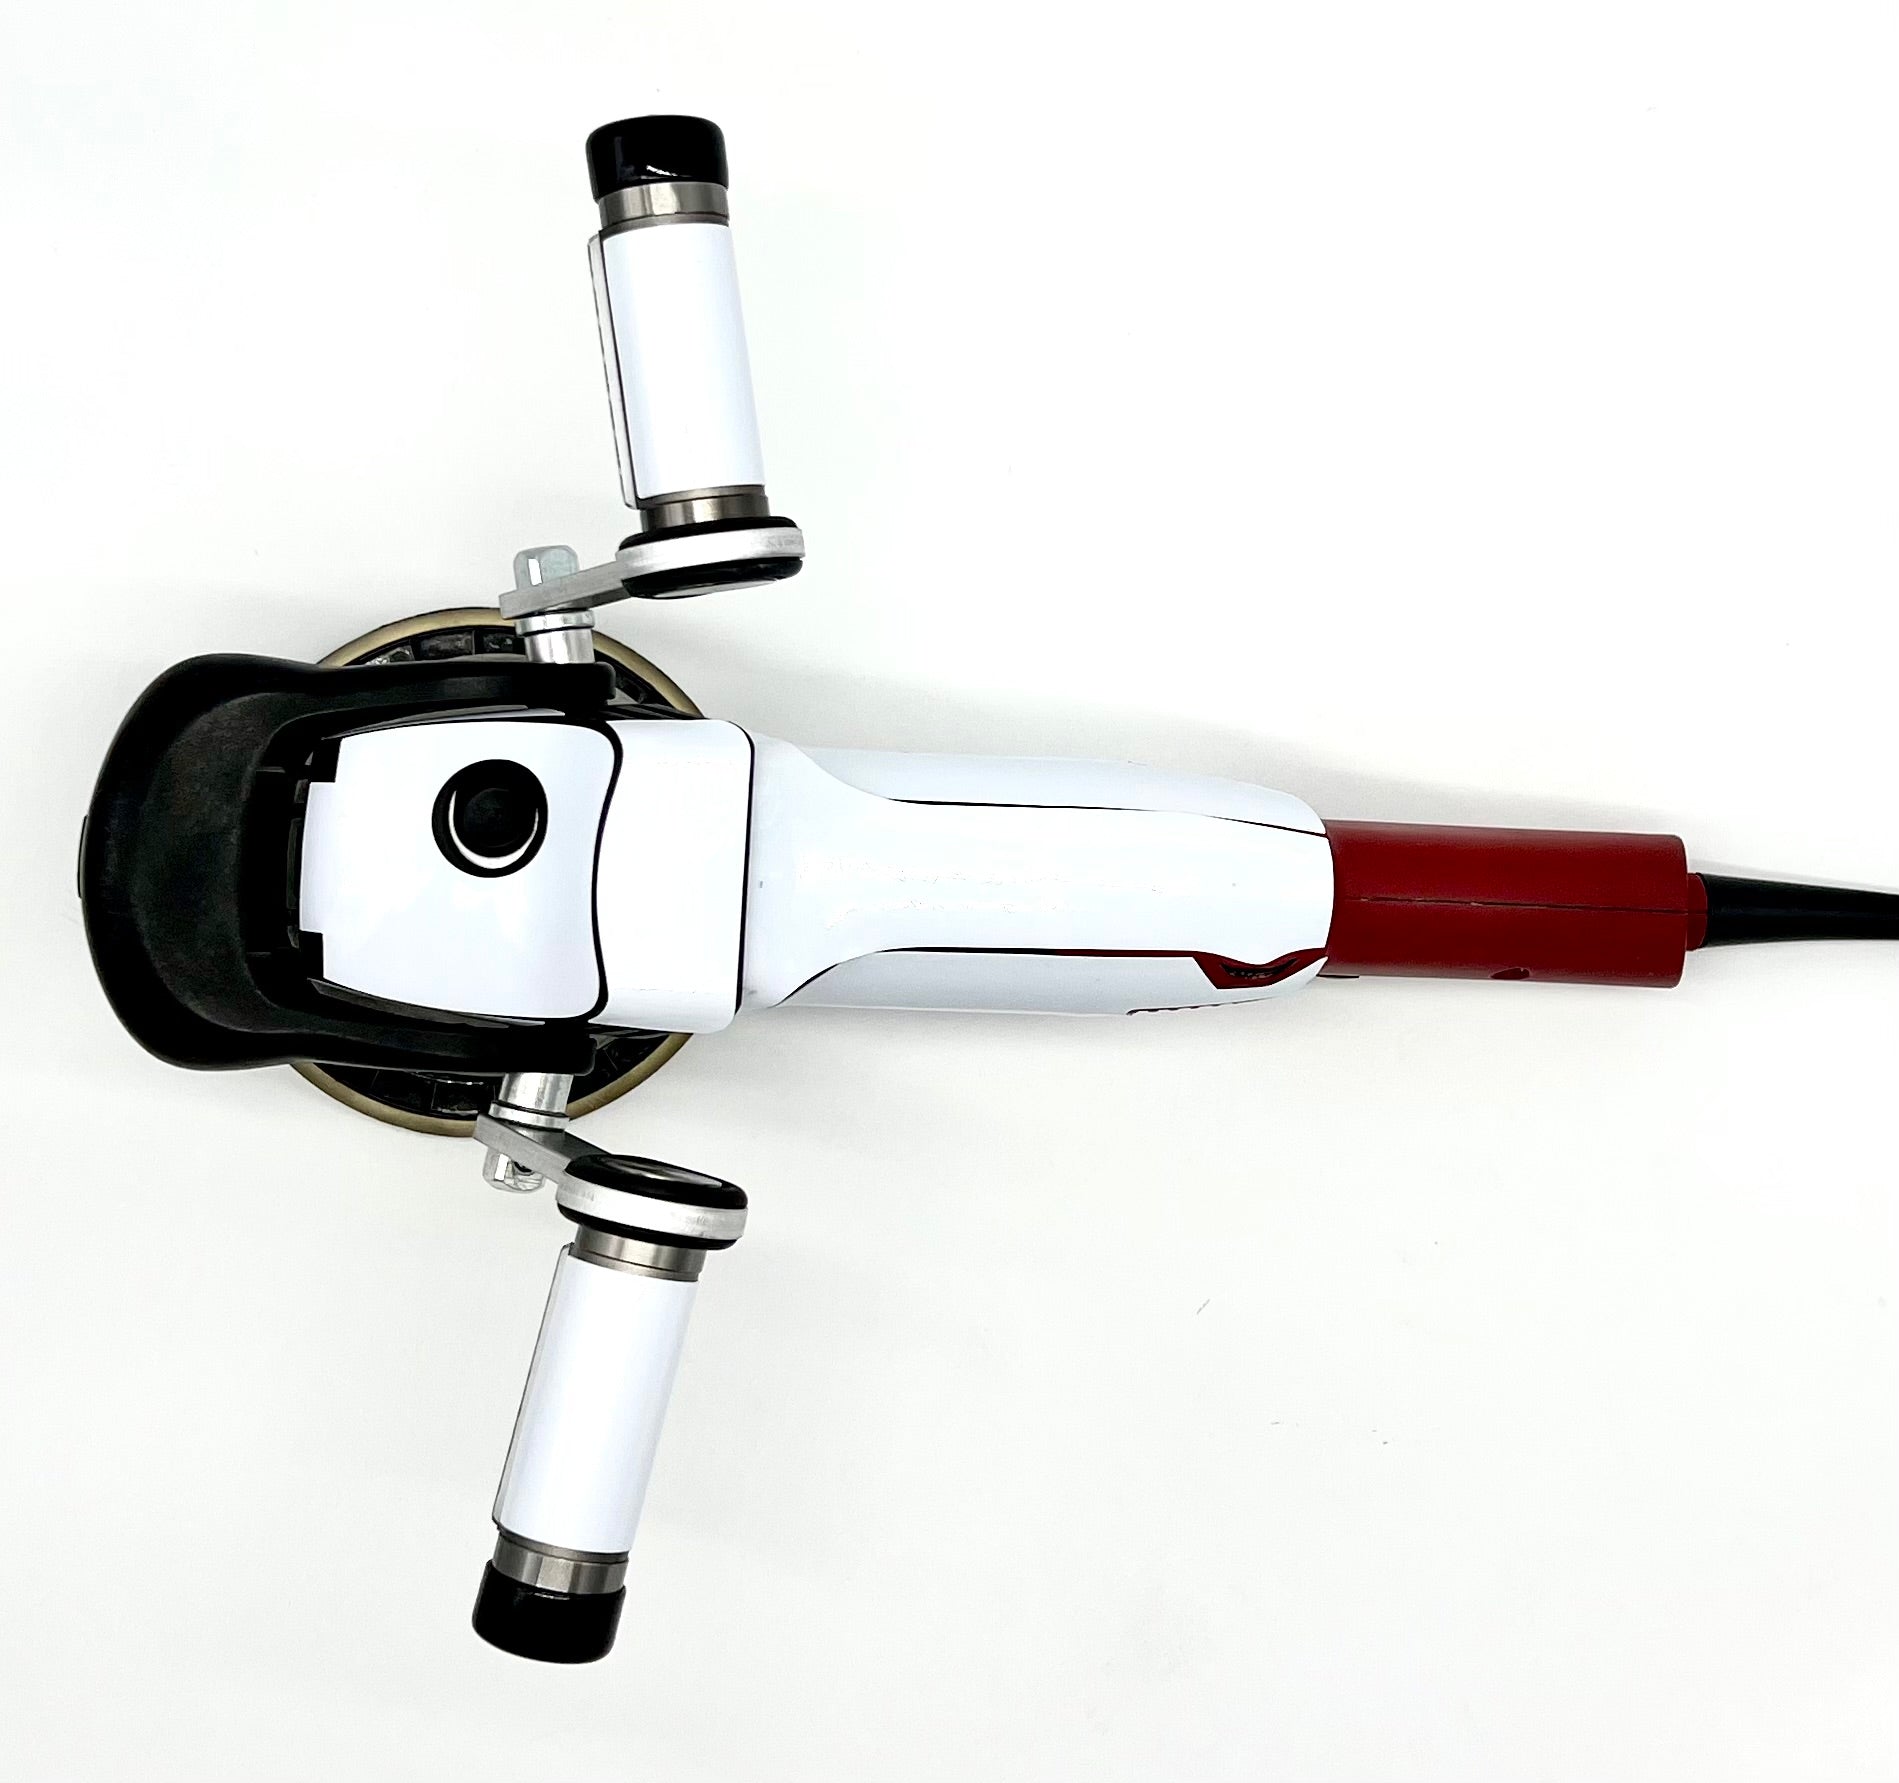
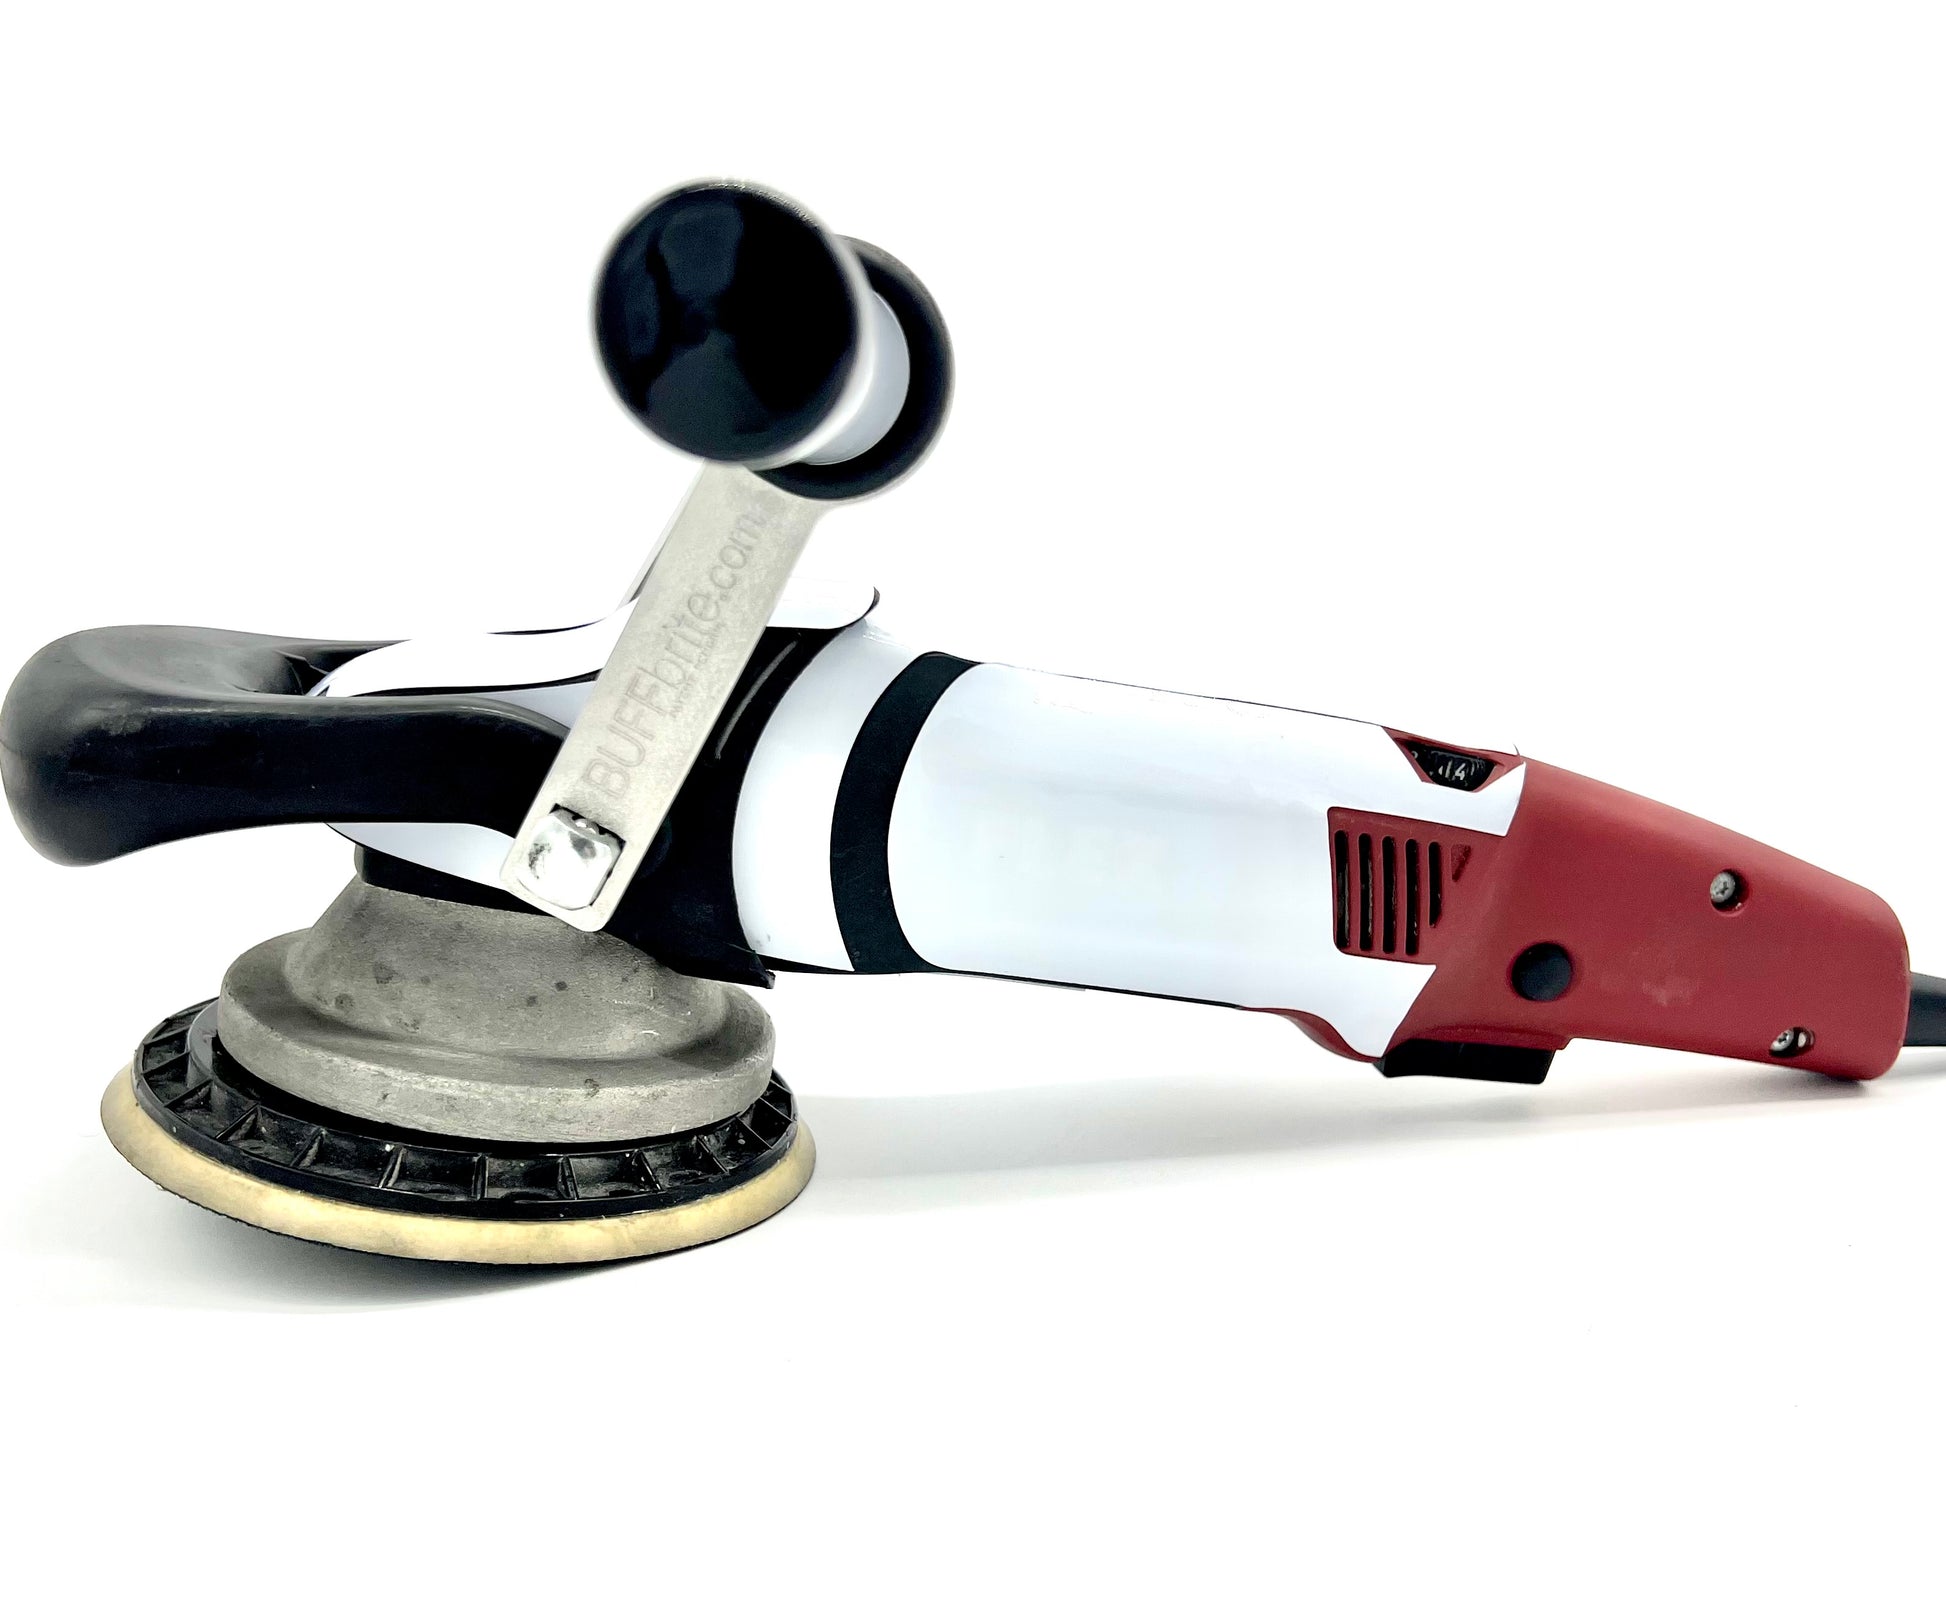
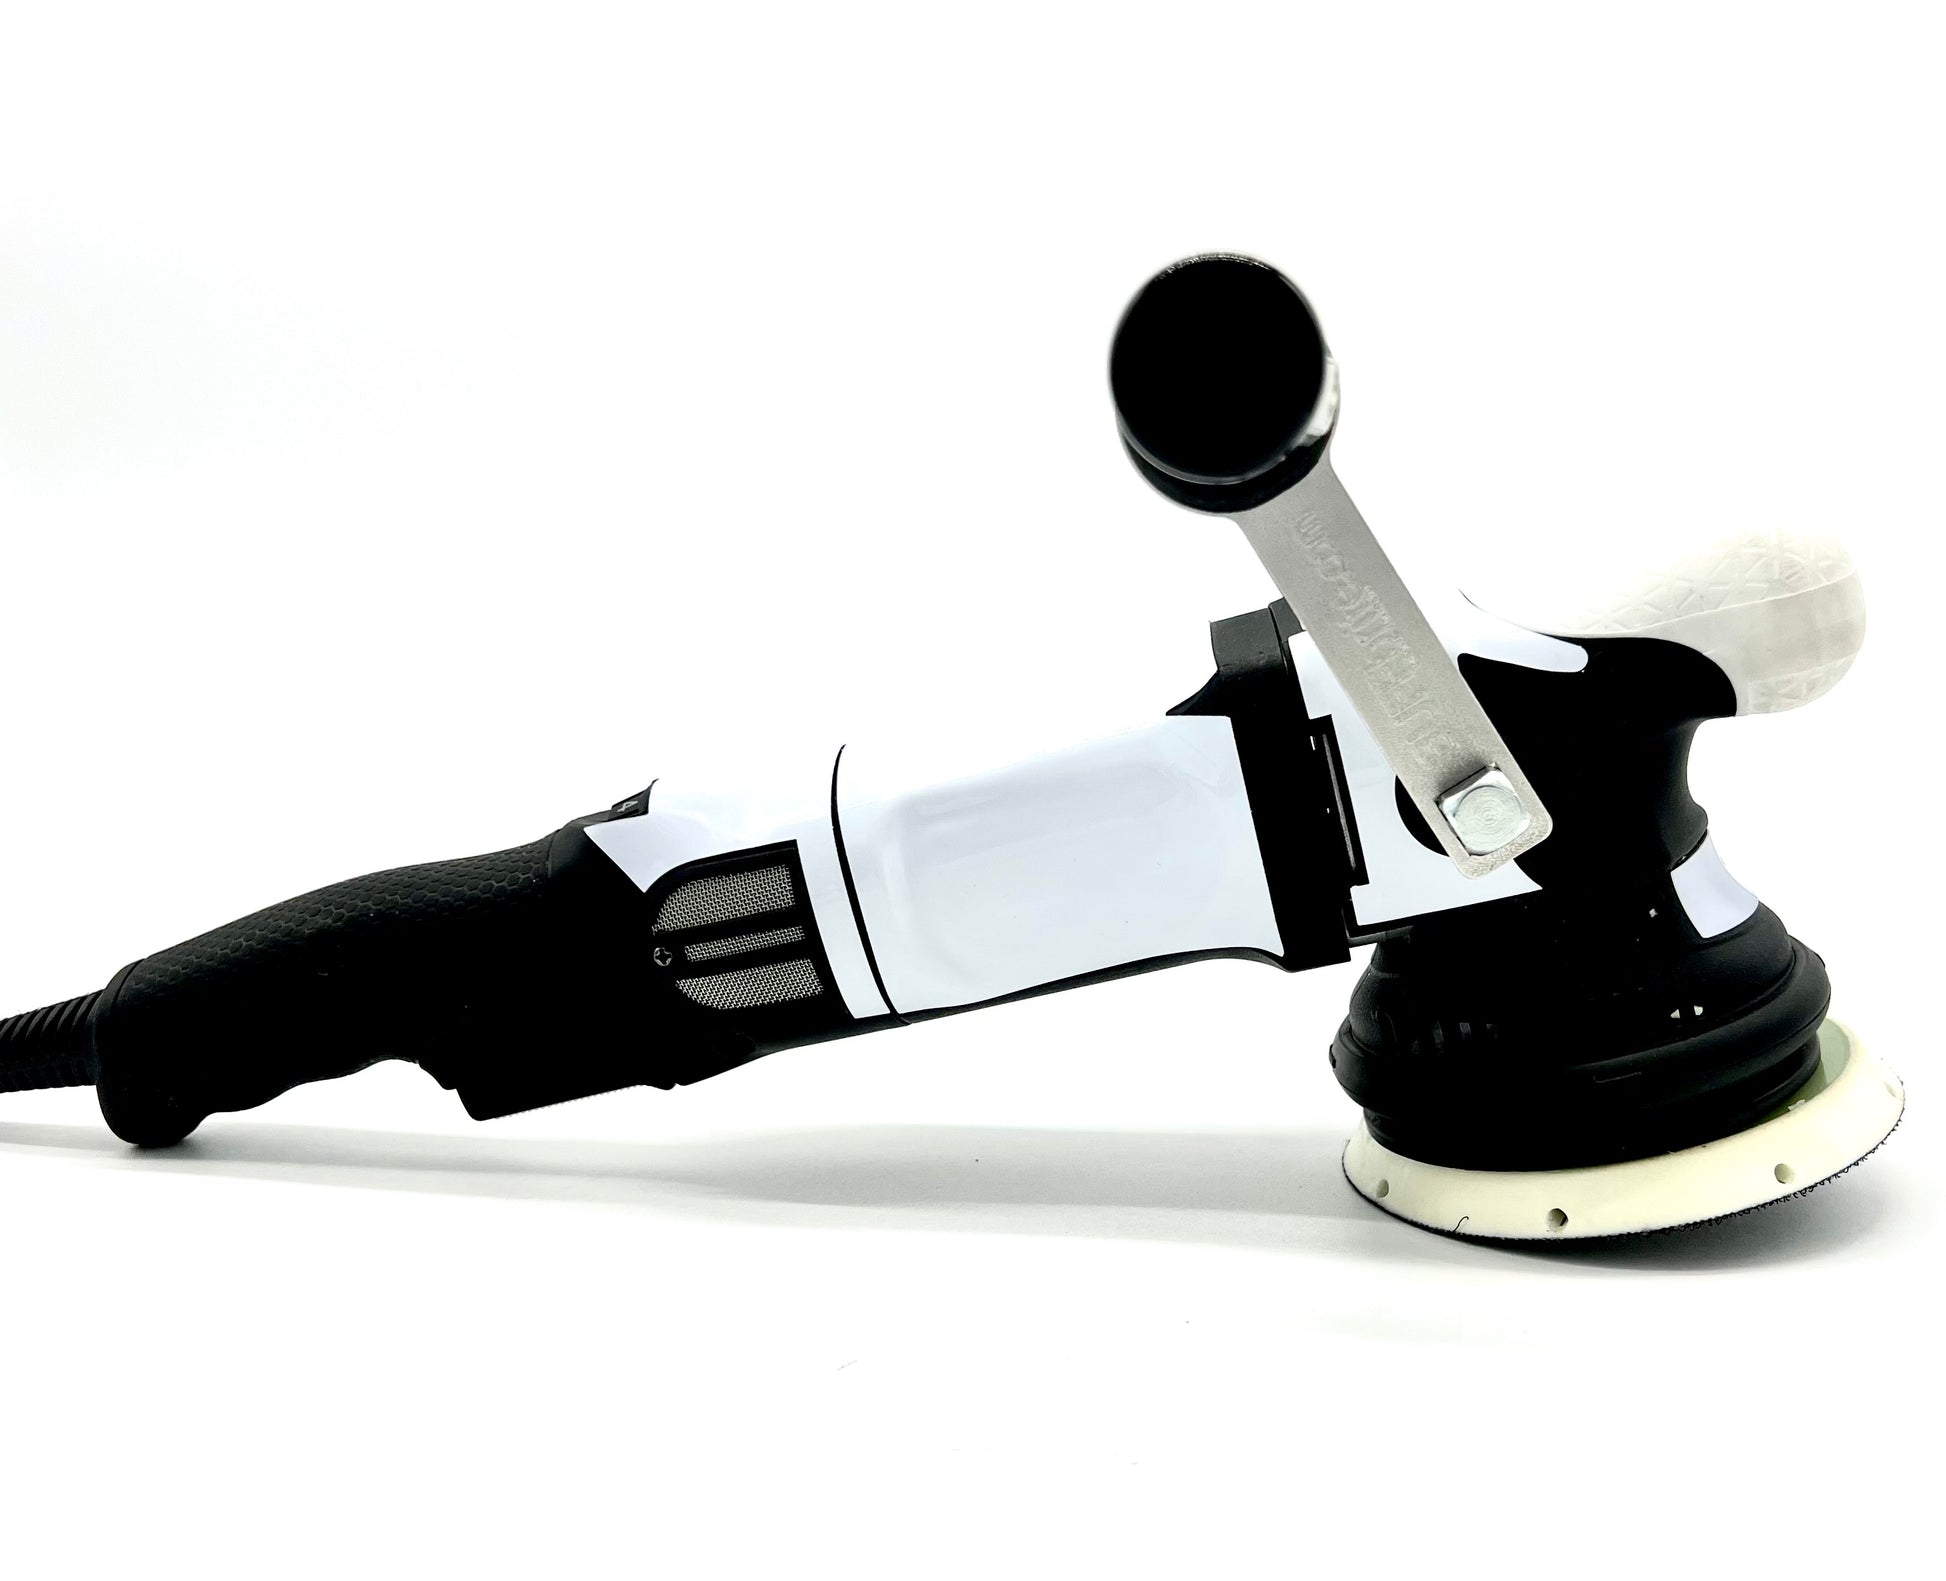
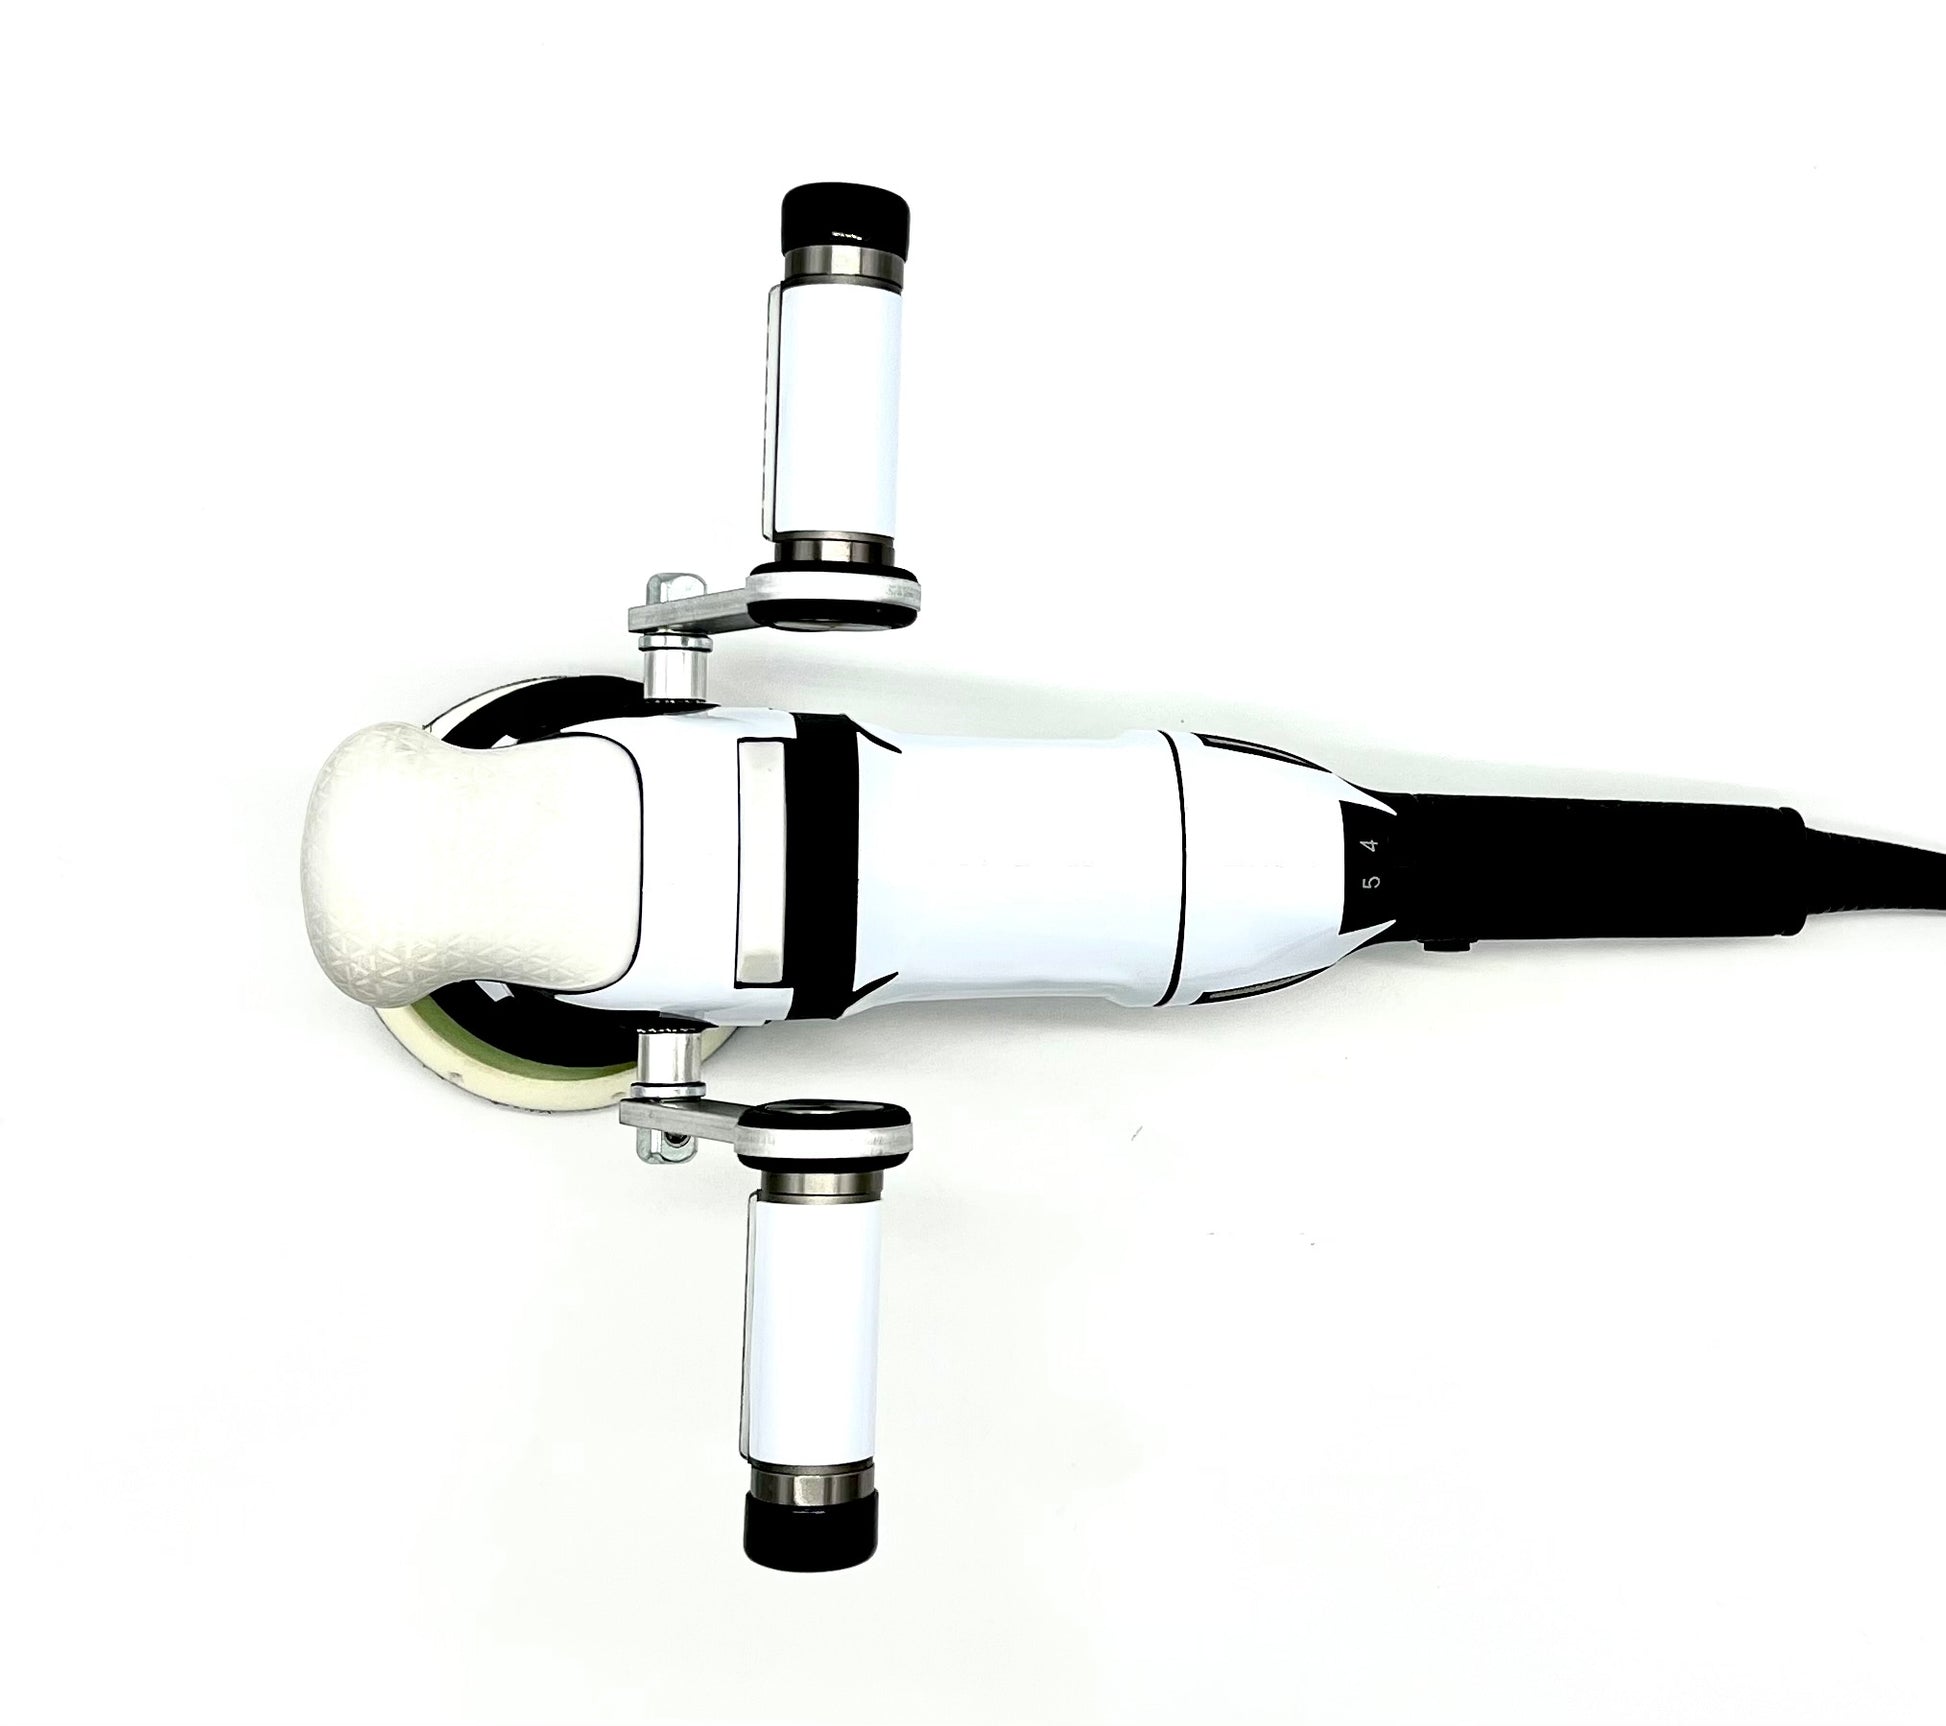
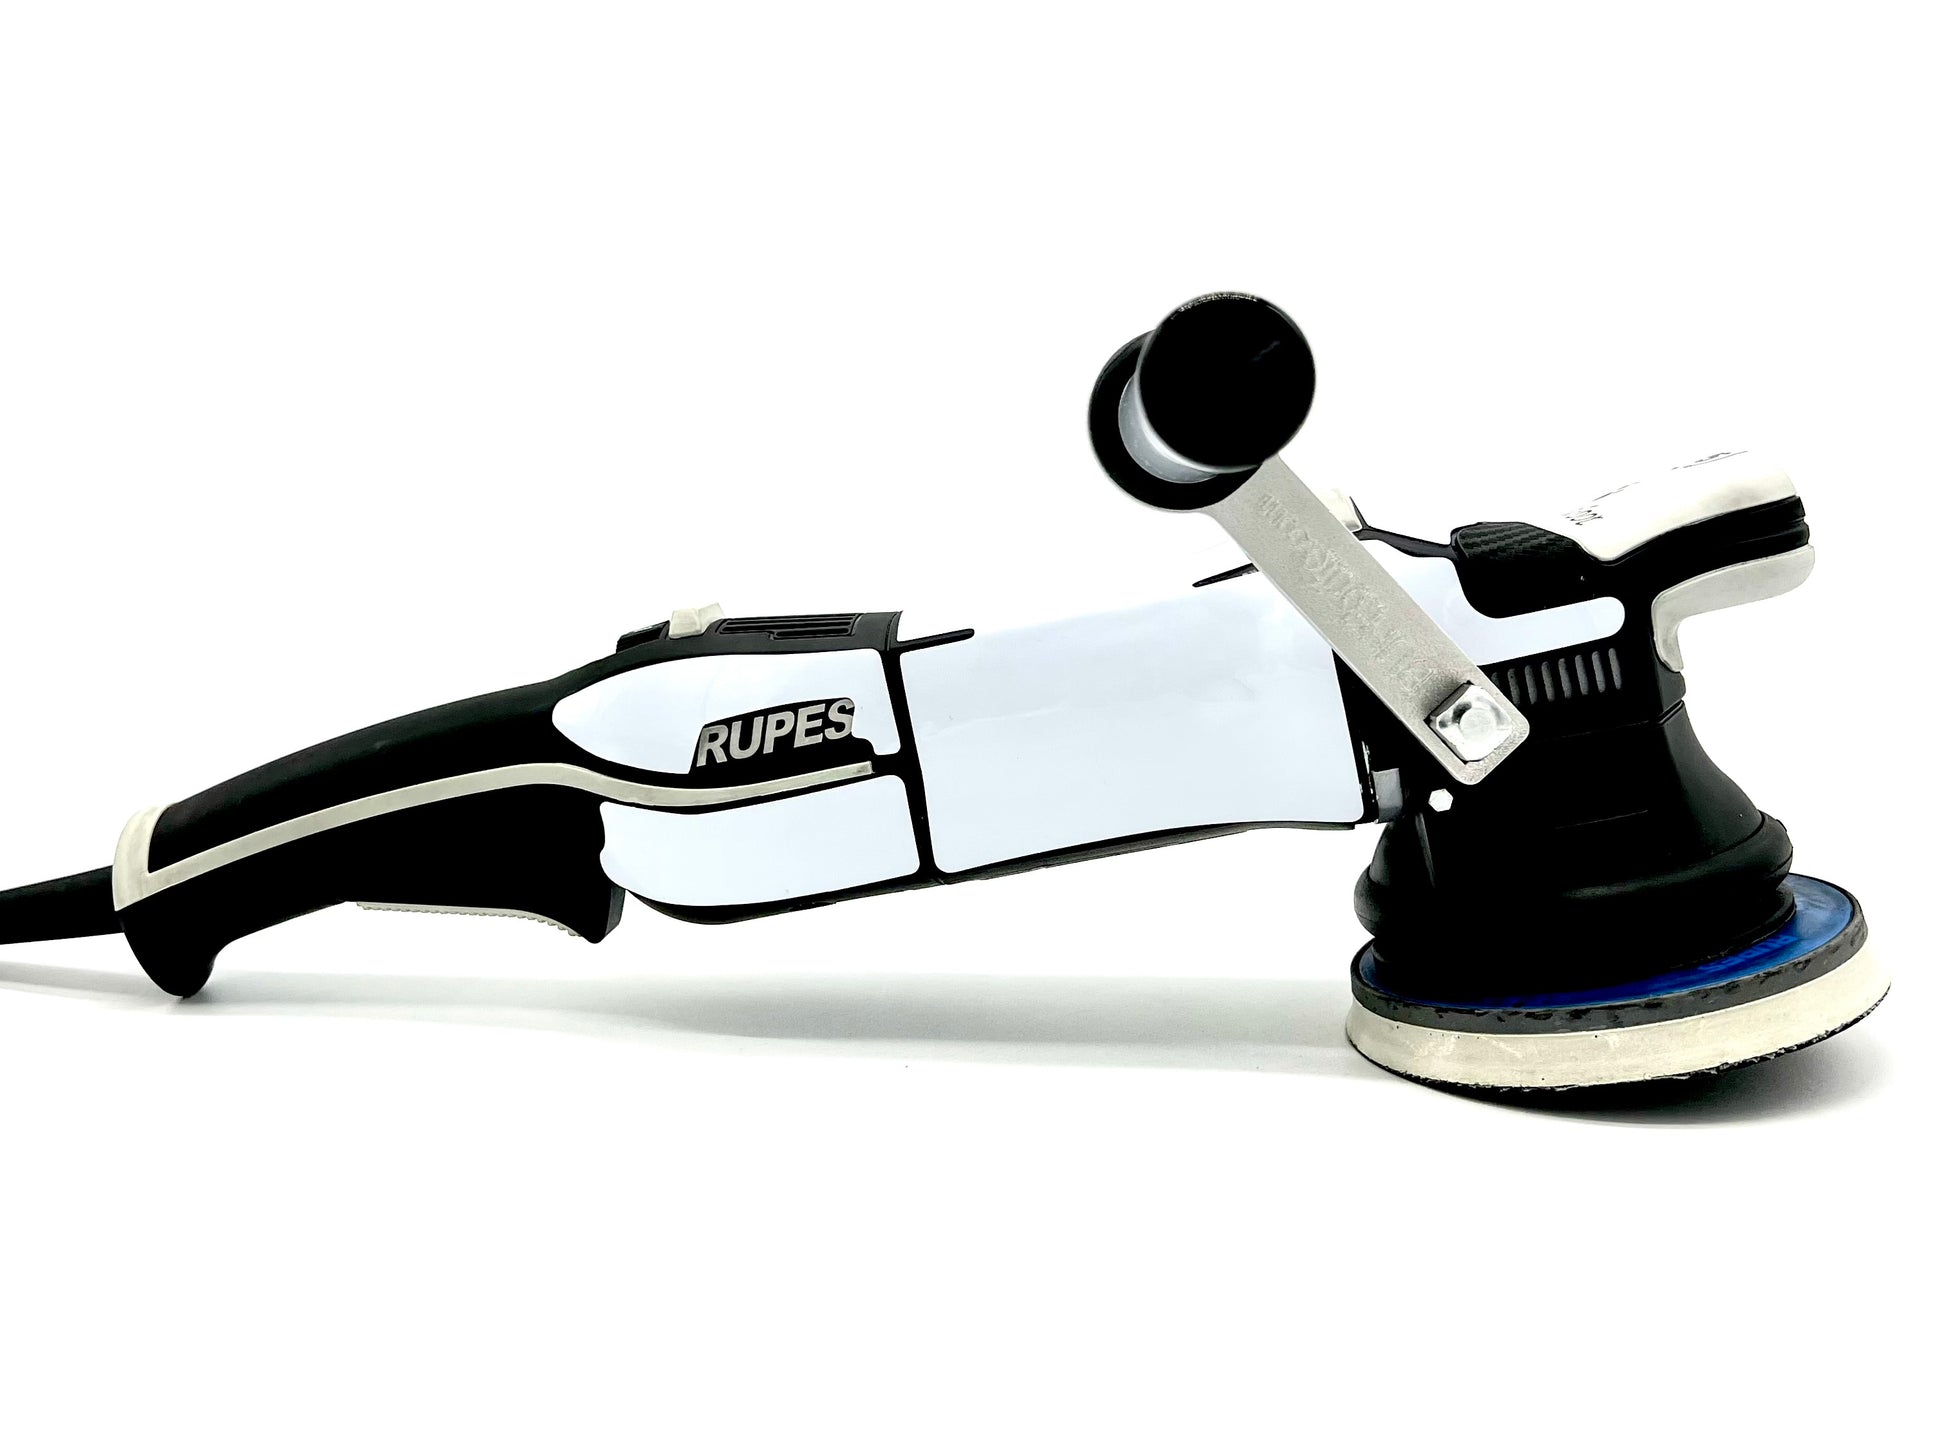
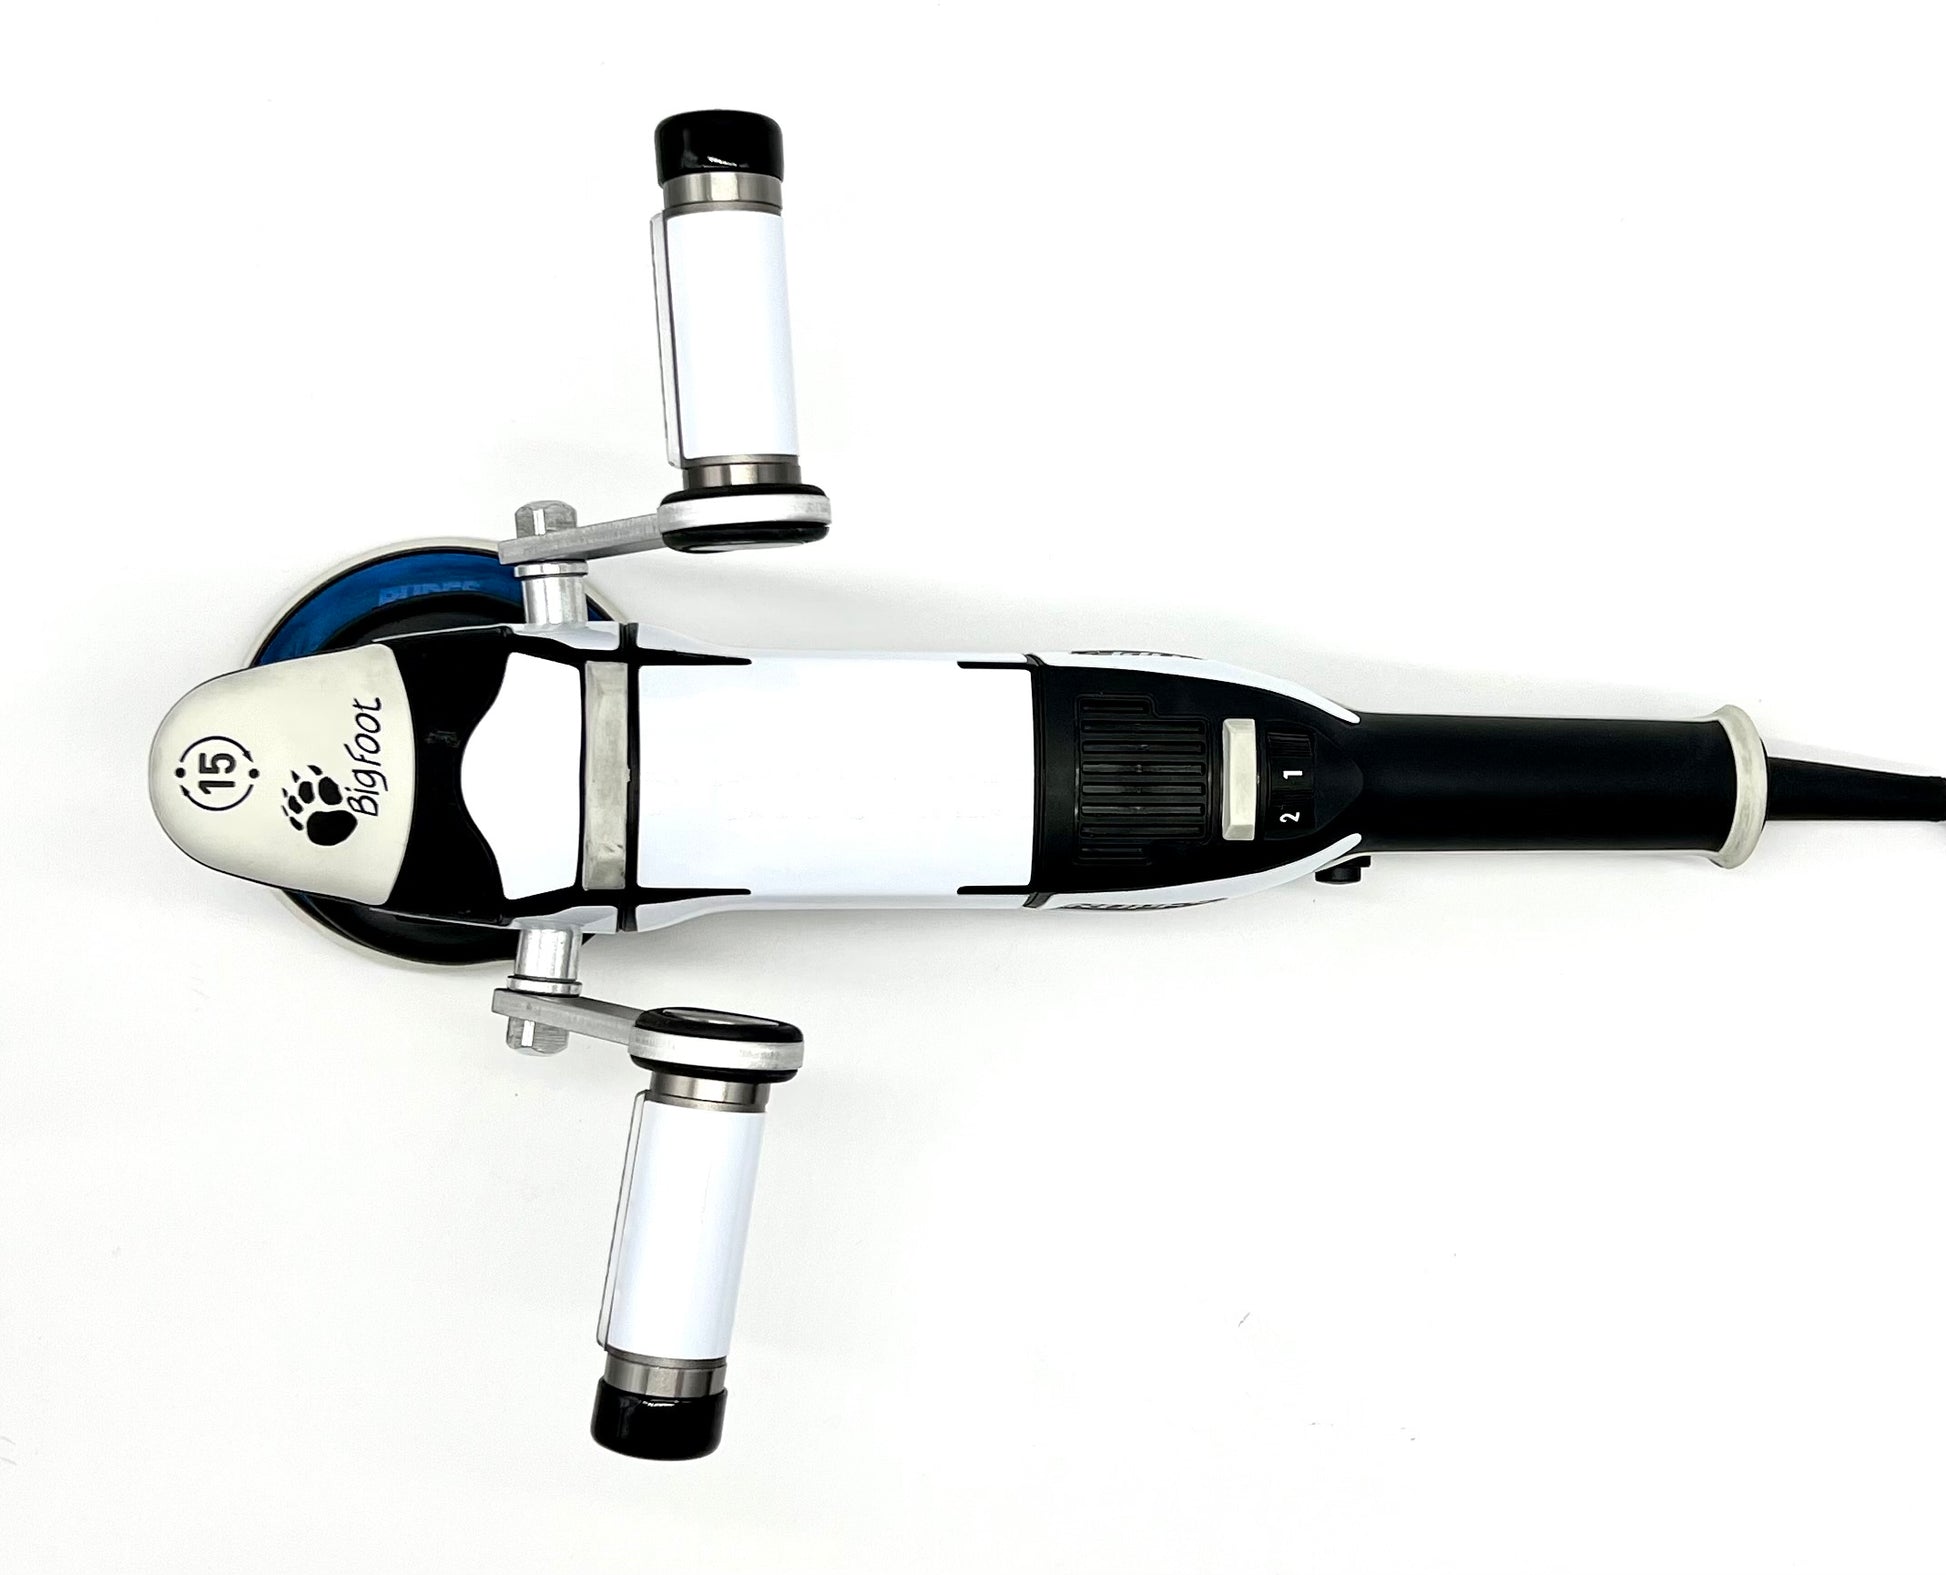
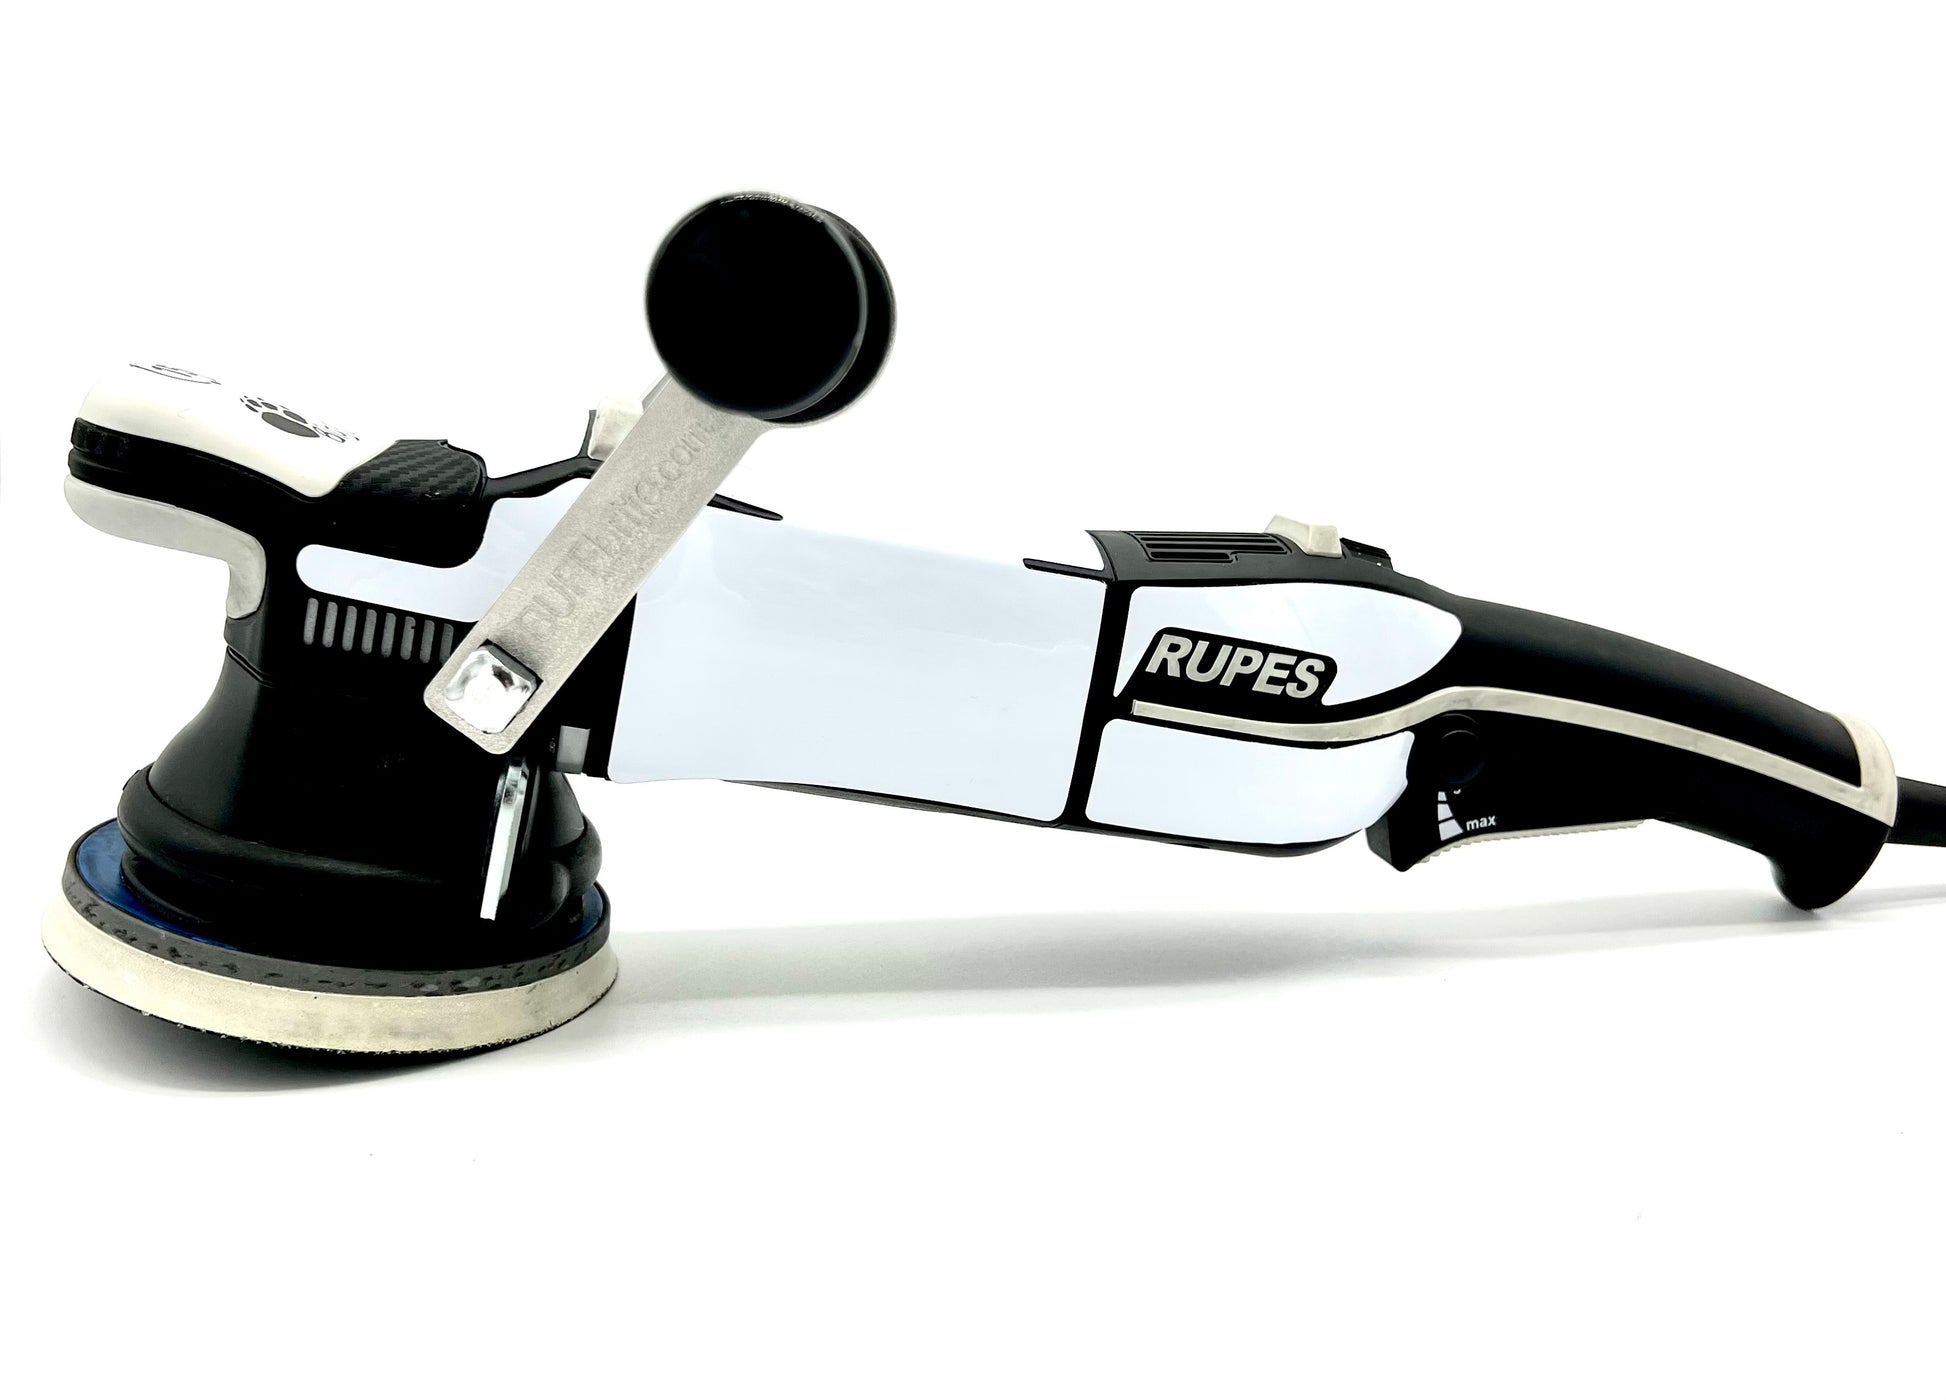
Time to update or just personalize the look of your polisher? Whether you have a Flex, Rupes Mark l, ll or lll (Bigfoot 21 or 15 model) a Rotary or Forced action, Griots G9 or even a Maxshine Pro polishing tool, this kit will easily install, greatly protect and vastly improve the “WOW” factor of your “Go To” polisher. Your Instagram posts will come to life with our Buff Brite Skinz helping you Polish to perfection.
These kits are made of a high-quality, back printed laminate with super strong adhesive. Simply clean your Polisher with isopropyl alcohol and carefully install the supplied Buff Brite Skinz to the various panels of the tool. If you can peel and stick a sticker you can easily take your polisher to the next level in a few short minutes. Prepare to be impressed!
RUPES Models we fit:
LHR 21 (Mark l, ll, lll and ES Legacy model)
LHR 15 (Mark l, ll, lll and ES Legacy model)
LH900 Mille forced action polisher
LH19e Rotary polisher
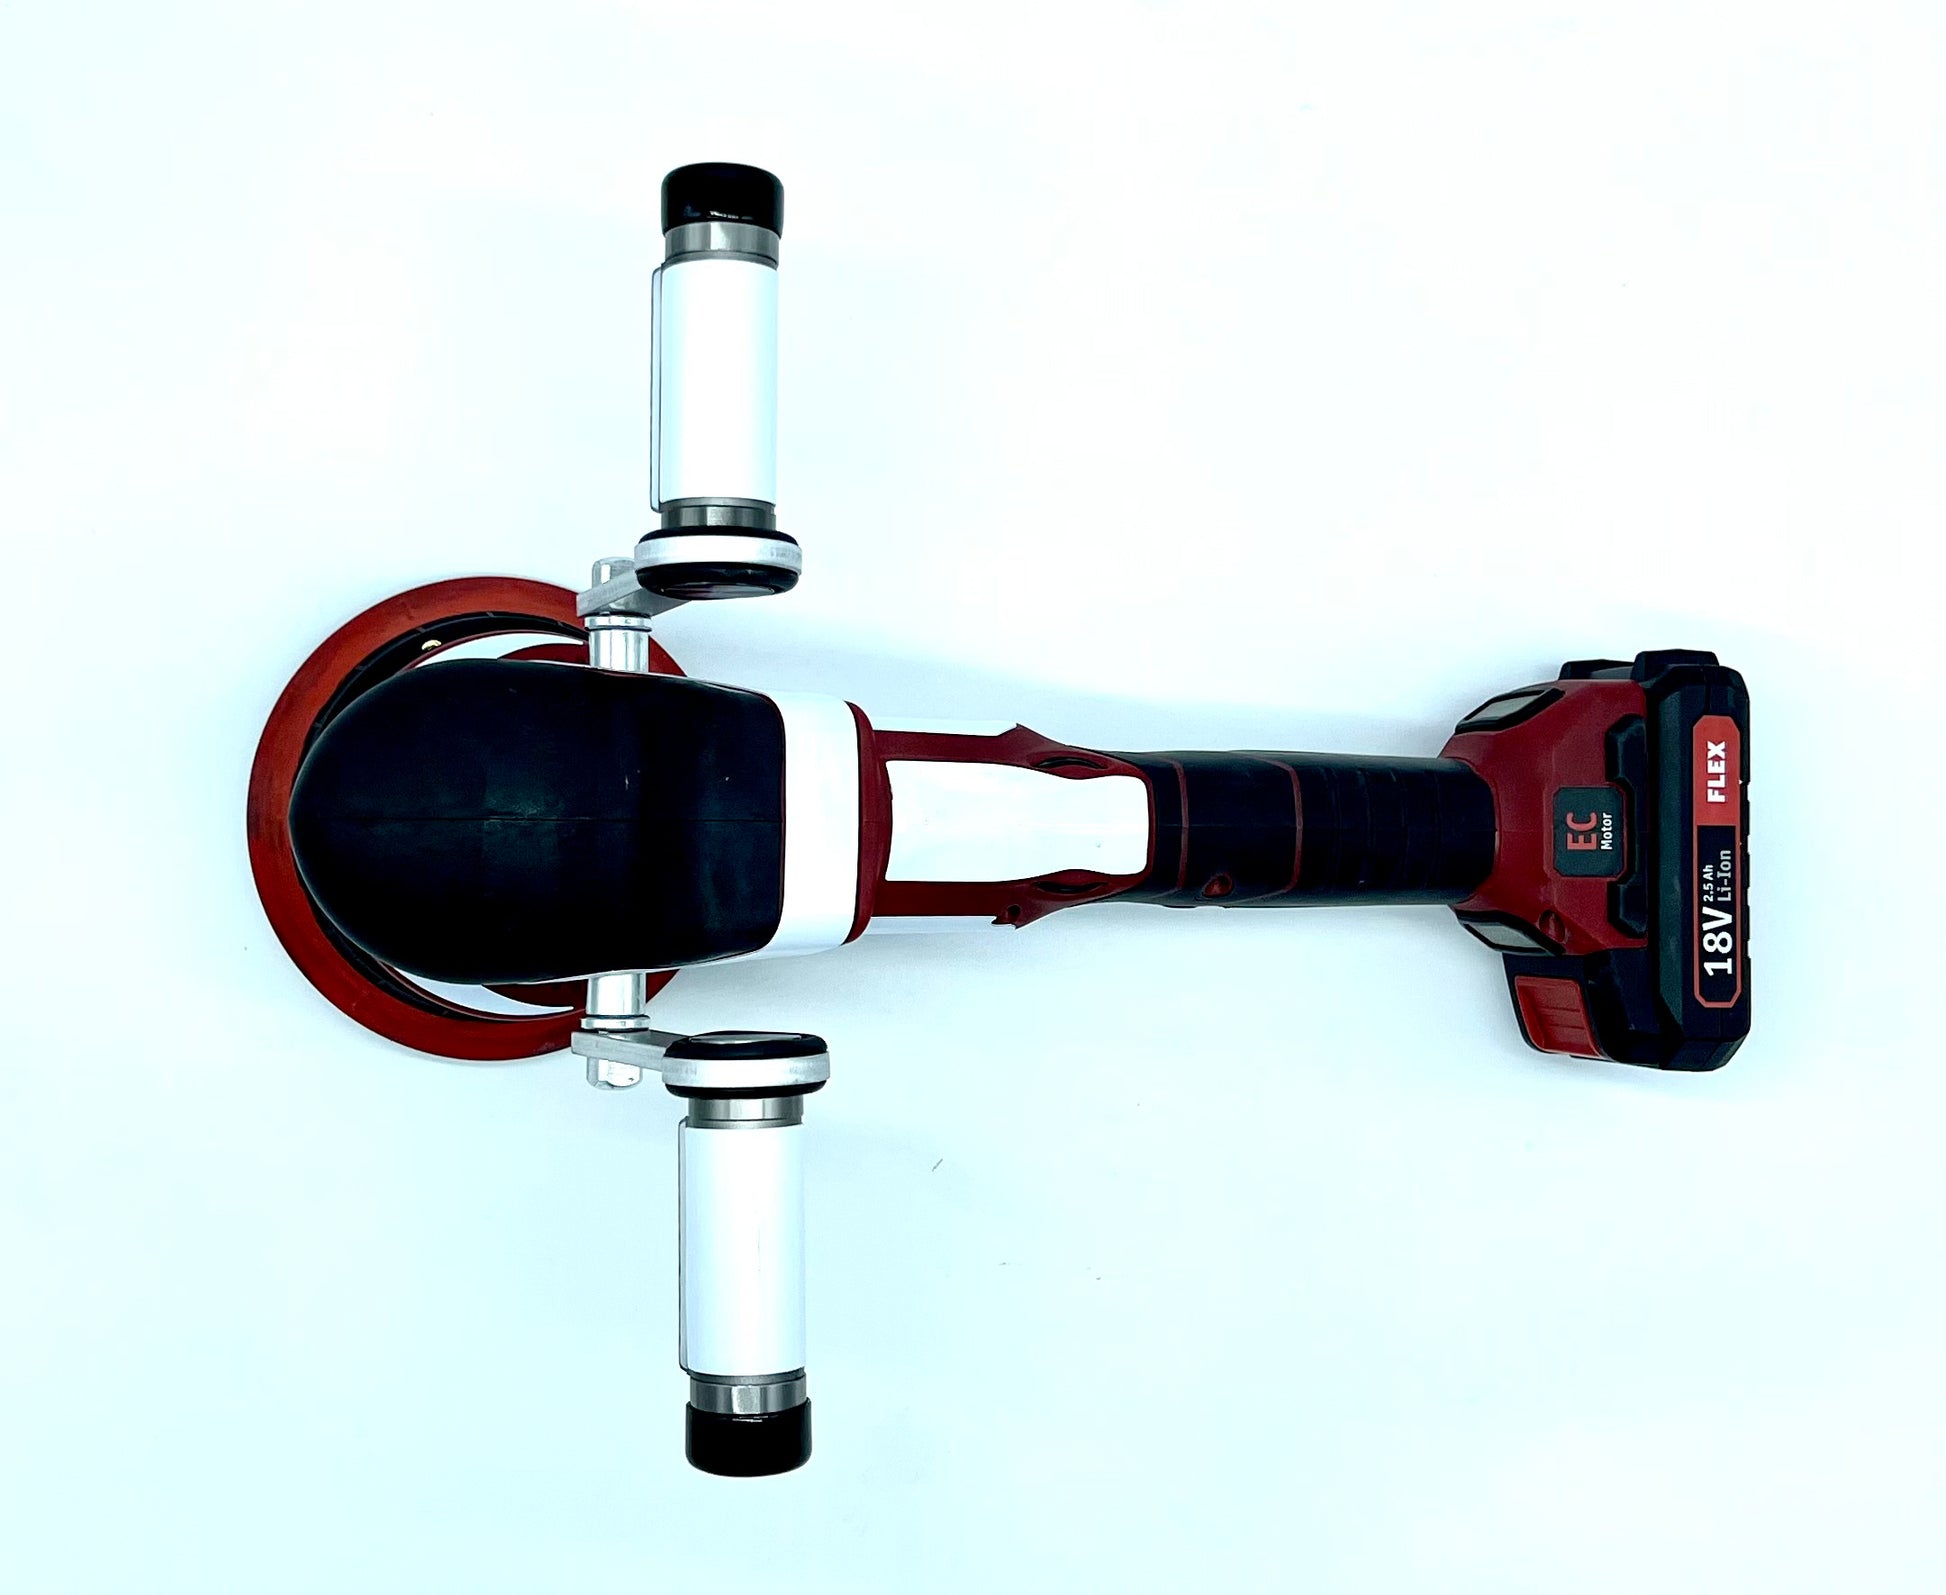
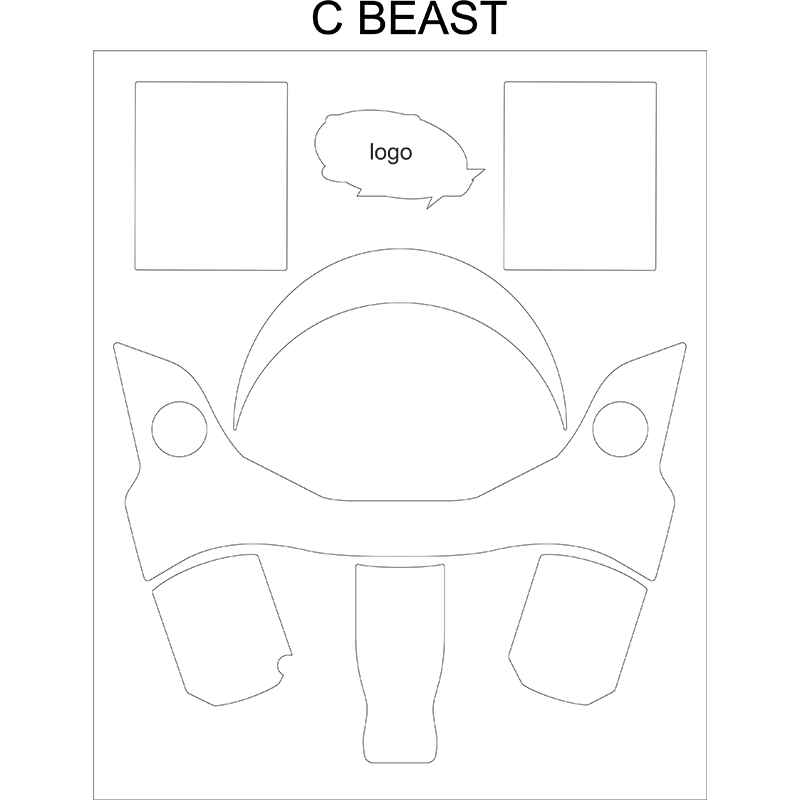
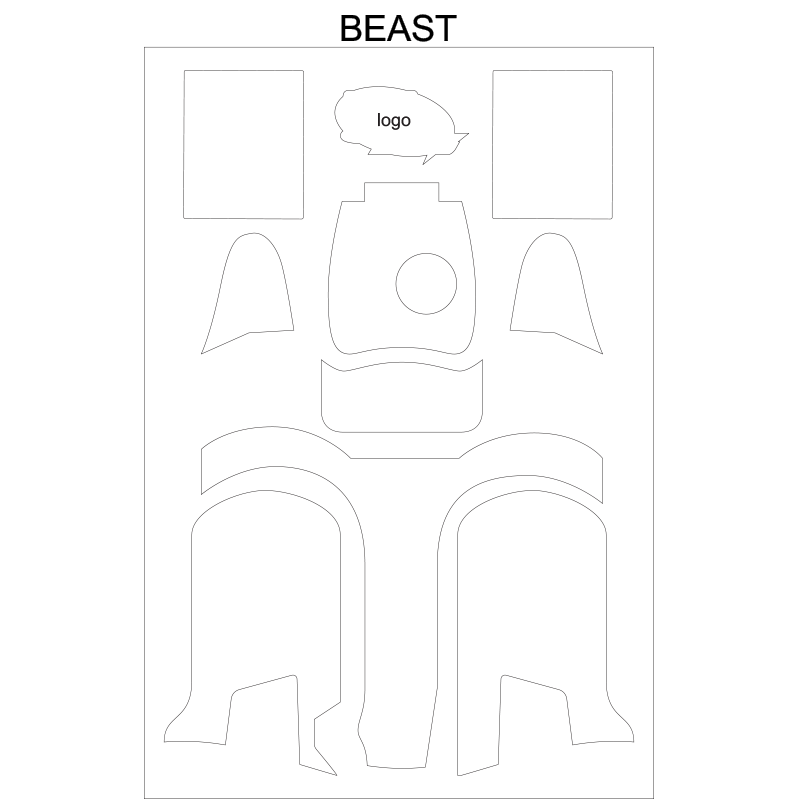
FLEX Models we fit:
Beast (XC 3401VRG)
C-Beast (XCE 8 125 battery model Forced Action)
XFE 15 150 (Random Orbital Battery Model)
GRIOTS Garage Models we fit:
Griots G-9 (Random Orbital Polisher)
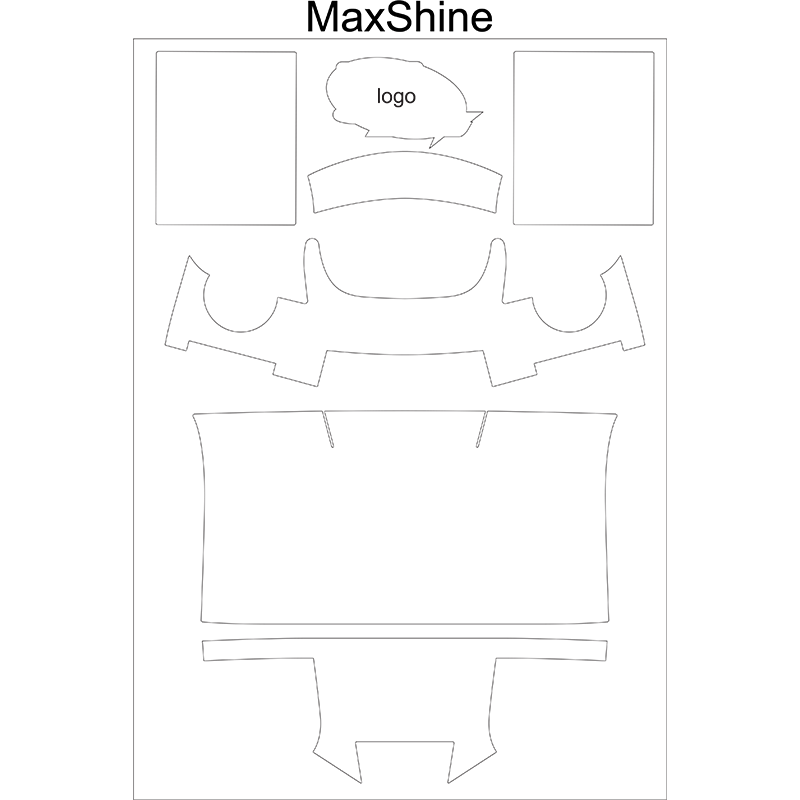
MAXSHINE Models we fit:
M8 PRO (Dual Action Polisher)
Installation instructions:
- Unplug the tool and remove handle (if one is attached).
- Wipe Down the polisher with Ispropyl Alcohol.
- Change towels and wipe down all the areas one more time with Isopropyl Alcohol. (Scrub off any caked on wax or compound)
- Spray your hands with Isopropyl Alcohol and wipe them clean with a towel. (Clean surface is vital)
- Remove the largest main body decal from the decal sheet (Carefully so as not to tear it) and center it to the front of the machine (do not press down yet) Line up the front edges and back edges with the main body panel. Run your finger down the center of the decal from front to back. If alignment is not correct pull it up and readjust the decal until it is completely centered.
- Working from the center to the outside lightly press down working out any air bubbles as you go. Do the same around the edges of the side stickers pressing down from the center working your way to the front and back of the sticker.
- Press down firmly to activate all the adhesive and work out any air bubbles. If an air bubble is stuck under the surface you can pop it with a stick pin or gently with the tip of a razor blade and press down to remove the air bubble.
- Line up all other decals with light pressure and when satisfied with alignment, press down to activate adhesive.
- Some slight trimming may be necessary on some models. Use a NEW strait razor blade to trim where needed. (Be careful, razor blades are sharp!)
- To apply the Flamethrower Polishing Light decals, wiggle the light out of it’s rubber mount by applying pressure with your thumb to the back side of the light in its mount. Clean the exterior with Isopropyl Alcohol with two separate towels. Remove the decal from the s decal page and align it 1/8 of an inch from the edge of the light and simply wrap it around being careful to watch alignment along the edge. The same decal will work for the Flamethrower l and ll model lights.
- Though you can go right to using your polisher, if needed, but it is recommended that you wait at least 30 minutes and preferably overnight before first use. This will allow the adhesive to activate completely and be more durable against the surface of the machine.
*Care and Cleaning:
Please do not clean with solvent-based products. These will reactivate the adhesive and make the edges weak and cause them to possibly peel up. Do not use heavy degreasers or all purpose cleaners as they may dull the finish. Use a clean, soft, microfiber towel with glass cleaner and carefully work your way around the skinz being carefull not to catch any edges and pull them up. You may use a spray Detailer Paint Spray, if needed, as long as it does not contain solvent.